|
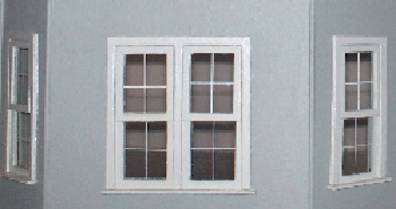
Double-hung Windows
By Deb Roberts
Double-hung windows can be a challenge when building a dollhouse kit. If you’ve ever done them, you might remember the first time when you sat looking at all the pieces trying to figure out just how in the world they go together. It almost seems to be a puzzle to get them in the correct places so that your windows come together correctly. If you’ve never done double-hung windows and are considering a kit that has this window style, this tutorial gives tips and tricks to get them to go together smoothly and with realistic results.
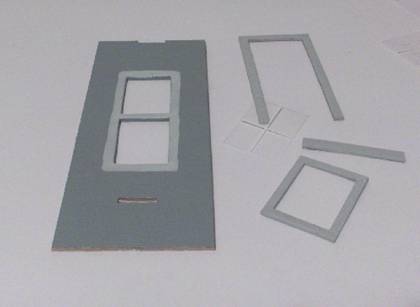
With double-hung windows, part of the house wall creates a portion of the frame. Therefore, you’ll want to prep your walls before beginning your windows for the smoothest look. It’s also much easier and you’ll have fewer touch ups to do later when it’s more difficult to reach into those tight, tiny spots with a paintbrush.
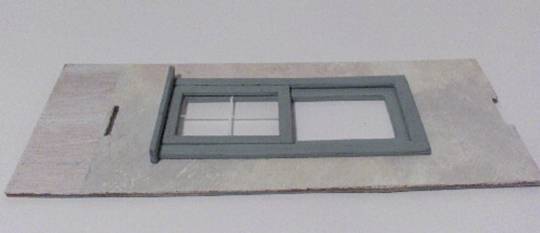
Start with placing the U shaped frame piece around the window and trace off the interior edge so you have a painting guideline. Then paint or stain that section of the wall around the window to match the frames and sill. (Don’t forget to paint or stain the cross bar too)
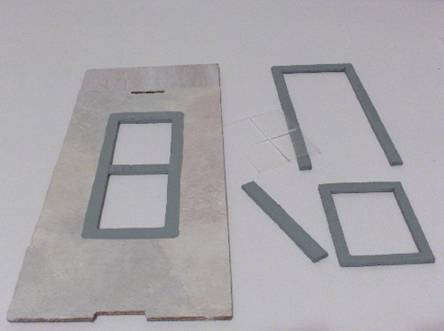
Next, glue the acetate window to the rectangular frame using white glue. Glue the frame to the bottom of the window, lining up the crossbar and all edges evenly.
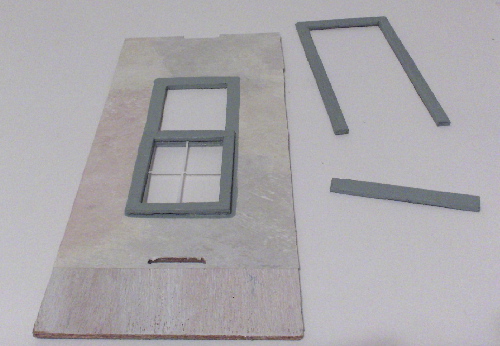
Glue on the U shaped frame around it with the opening at the bottom. Line up the edges of the U to the bottom of the frame so they are flush.
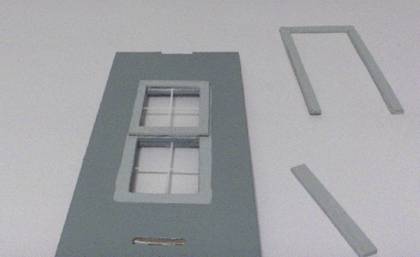
Then glue on your window sill.
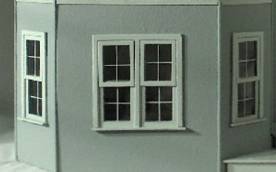
Let the glue dry completely and turn the wall over to install the window on the other side. Trace the outline for your painting lines and paint the wall and frames.
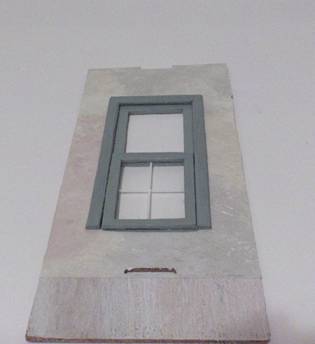
Now you’re ready to glue on the frames. It’s the same process as the interior, except this time, glue the rectangular frame to the TOP section of the window.
Add the frame and sill as you did on the interior and you’re all done! You’ll have perfect double hung windows every time without having to go back and touch up the paint.
Newsletter Home Page...
|