|
Rachel's Rustic Shingle Tutorial
By Rachel Topps (with Tracy Topps)

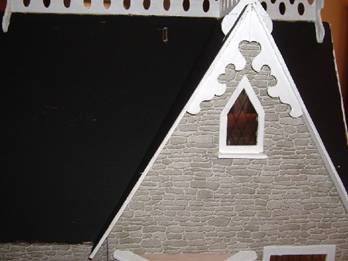
Have you ever wanted to add a different aged look to your houses? Try changing the way you dye your roof shingles. Many times, you may find that the different shades of browns for your roof may leave your houses looking like every other dollhouse online. Change that by water paint staining your roof. You can do this first by painting your roof black. This will help because when you use this technique, your shingles may curl and warp. It will show black underneath and NOT the bare wood under the shingles. You WANT the shingles to do this because that is what gives the aged looked.
Next you'll want to start adding your shingles to the roof just the way you always do.
Next, you'll take a 4 ounce paper cup and fill it halfway with water. Then you'll add 1 teaspoon of the paint color you wish have for your roof color. Remember, this color will not be as dark as the paint shows because it will be watered down. Stir that paint around in the cup. Get your paint brush and start painting.
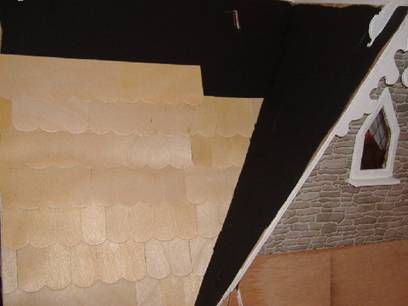
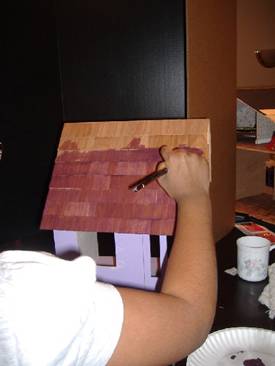
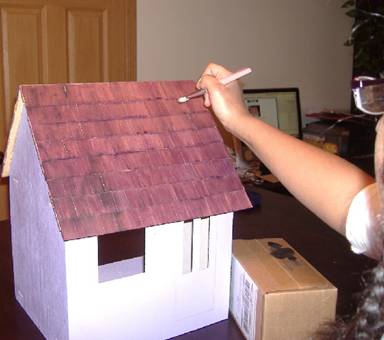
You want to paint one row at a time being sure to cover all shingles. Your brush needs to be very wet! Paint from side to side but let your final strokes go down from the top of the shingles to the bottom. The picture below shows Rachel going side to side with her shingles.
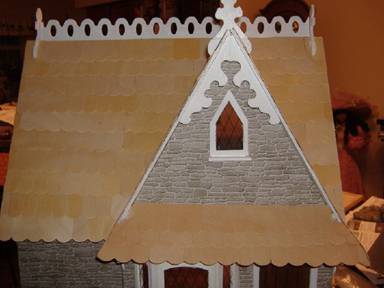
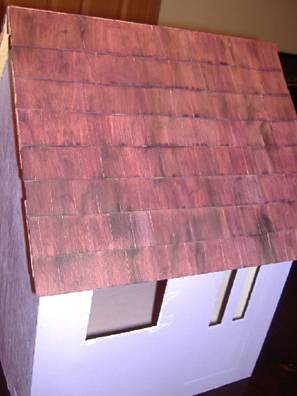
This is what it looked like when Rachel finished. After it dried, she decided she wanted hers to be a darker color.
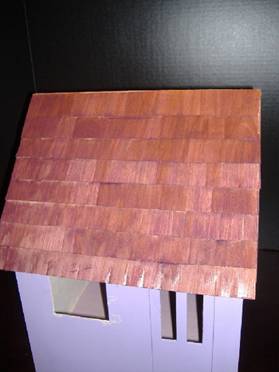
She went over it again with the water wash.
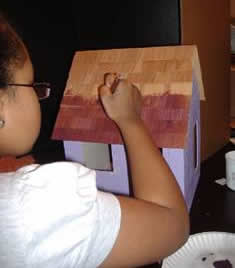
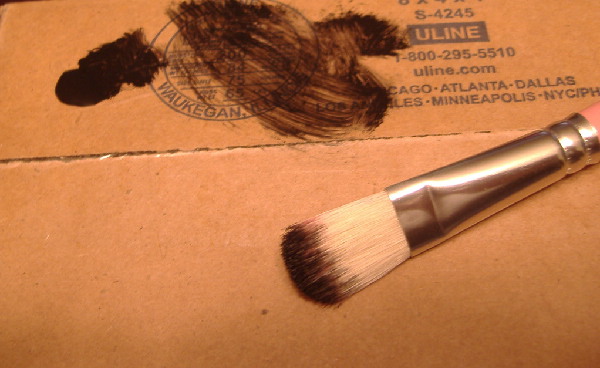
Now, Rachel wanted to add more detail so she took a dry brush and added black paint to it. You do this step by adding a couple of drops of black paint on a plate (we used a box). Add paint to the front and back of your dry brush and then wipe off excess paint.
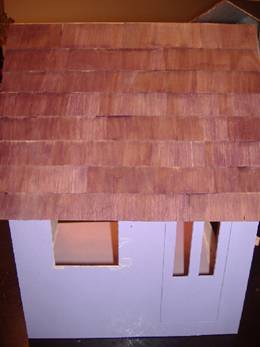
Then start painting around the edges of your shingles and the bottom ends of your shingles.
She's not finished with the house but we will continue to add the shots as she finishes it.
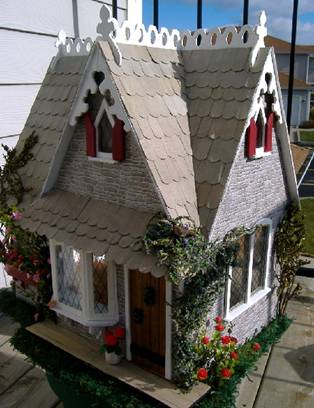
Here are several houses I used this technique on.
I used gray paint and used no highlights on this one.
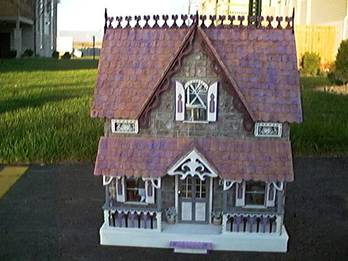
I used purple paint and highlighted it with a dry brush of lighter purple.
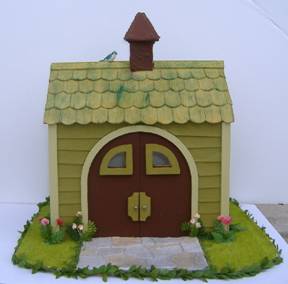
I used green paint for the shingles and highlighted it with a darker green.
Mini thanks to Rachel (with a little help from Tracy) for such a great tutorial! We’ll be looking forward to Rachel’s newest creations under the name of Rachel’s Toy Chest.
Return no Newsletter Home... |