|
Shabby Chic Faux Dresser
By Tracy Topps

Making a faux dresser in tight spaced places can be challenging. Here I will show you how to save on space but still have the "look" that your chest of drawers is there.
You will need:
Plywood
beads
glue
paint
Decorative Wood trim
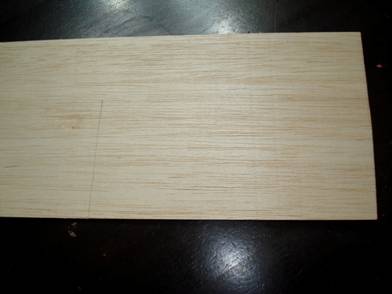
Start off by looking at the wall that you want to create a dresser on. Cut a piece of wood to fit the shape you'd like to create:
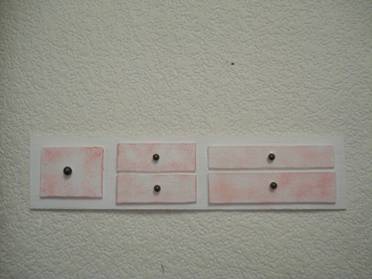
Next you would cut pieces of wood in different sizes to look like a dresser would. You can even use those left over dollhouse wood kit pieces to use as a drawer. You would then arrange it in a way that looks realistic and is pleasing to the eye.
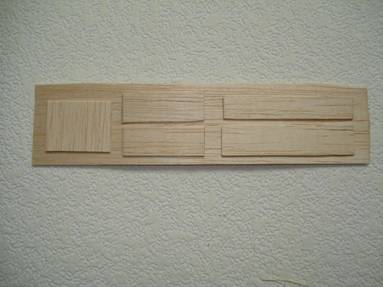
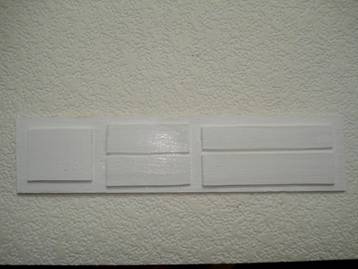
When it’s arranged to your liking, glue the "drawer fronts" on the wood piece. When the glue dries, it is time to paint the entire piece. After you paint it set it aside and select large, round beads for the drawer knobs. Bigger drawers can have a bigger knob than smaller ones or you can choose to keep them all the same size
After your wood piece is dry you may choose to paint the drawers a different color. I did this for my Shabby Chic Cottage. After that it is time to take out your selected the "beads" (knobs). Center them on the front of the drawer and glue them down. I used tacky glue with a drop of crazy glue.
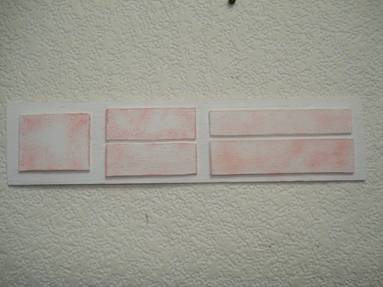
This is what it should look like when dry:
Now it is time to glue this to your wall. You can then cut your decorative wood trim to fit the top of the dresser. Paint it and glue it on the "top" of your faux dresser.
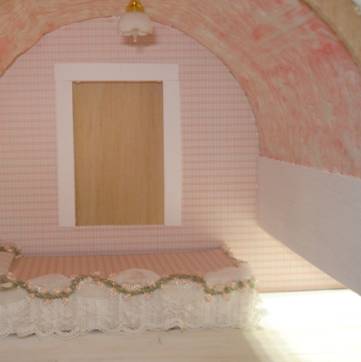
Here is the wall where the faux dresser will be installed:
And here’s how it looks after the dresser has been glued in place:
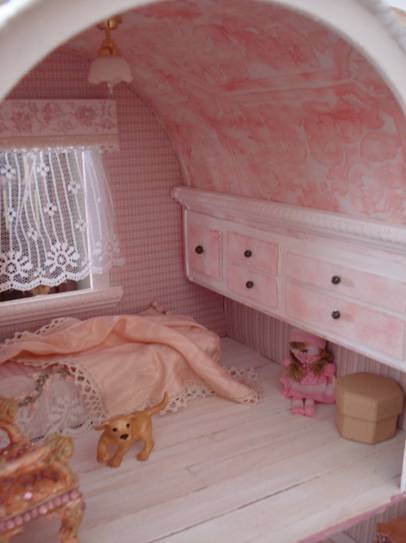
Sit back and enjoy!
Newsletter Home... |