|
Tile and Bricks from Mat Board
By Casey Rice
Many years ago I saw a technique similar to this used for Dungeons and Dragons. I thought that, with a little alteration, it might work for dollhouses. It is fairly simple to do, with a bit of practice and takes very few materials and equipment.
The materials consist of a piece of mat board measured to the dimensions of the room that you want to tile or the wall that you want to brick, water soluble paint for the tile/brick color and for the grout. For the samples here I used Ceramcoat Georgia Tile and Hippo Gray. Also you can use a final sealer if you feel it is necessary.
Equipment needed is an Exacto knife with a new blade. If it is a large floor, you may need more than one blade. Also needed are a metal ruler, pencil, a stiff brush and a good light source.
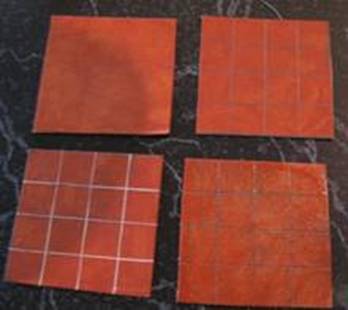
1. Using a stiff brush, scrub on the tile color. It has to cover, but It doesn’t need to be an even coat, unless you want a more polished look. Let it dry thoroughly.
2. Using your steel ruler and a pencil, (I use a mechanical pencil, such as a Bic, so that I get a pretty consistent line.) measure and draw the grout lines.
3. Now comes the scary part. Starting with a new blade, cut down one side of the grout line at a 45 degree angle. I find it easier to cut on the right side at all times, because I am right handed. Lefties may find it easier on the left. Simply twist and turn the floor to get it to the easiest side.
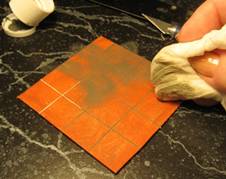
4. Now, with a wet paper towel in one hand and the paintbrush in the other, start painting and wiping. I usually try not to do more than a few square inches at a time. I don’t want the paint to dry. I try to leave just a tiny bit of paint on the tile to make it look worn. If you want it shiny and new, just make sure that you get it all off, except for what is in the cracks. If you wish, you may put a coat of spray varnish or sealer on when it is completed.
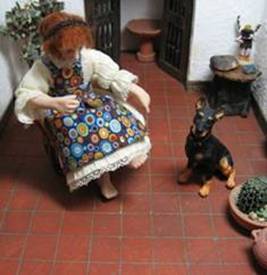
Here’s a photo of some of the first tiles that I made about 20 years ago. You didn’t think that Tessie would let me get away with writing a tutorial without getting in on it, did you?
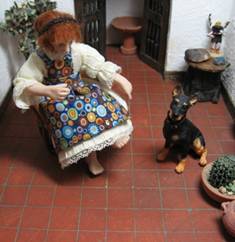
It’s in the Southwestern room box. I didn’t put a finish on this one. Every once in a while I brush a light coat of lemon oil over it. Other than that and dusting I never touch it.
The last one is an example of the brick.
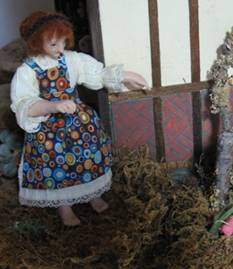
It is on the side of the Witches Warehouse. I cut the mat board to the size of each insert and did a herringbone pattern for each. I have never done anything to this one. The more aged, the better for these walls. Again, this is an old building. It is just about the same age as the Southwestern room above.
If you try this method, please do practice on scraps first. I would love to see what you do with it. Good Luck!
Return to Newsletter Home...
|