|
Bewitching Hourglass
By Charlene Crawford Horrocks
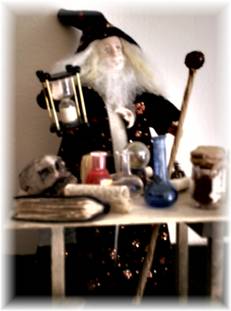
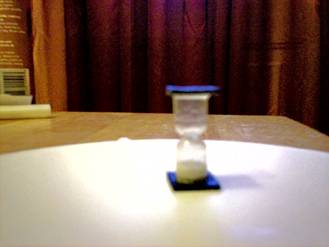
Every wizard and witch needs an hourglass so as to not over-or-under-cook spells and brews. Admit it, your haunted house cries out for one. But if you can find a working hourglass in scale, it will be very expensive and possibly threaten the mortgage payment. What’s a mini enchantress to do? Well, here’s an easy way to create one that actually works. The directions and supplies are for the easiest assembly, but I did several versions and it’s a cinch to personalize – try wood or metal instead of mat board and turned cocktail picks, straight silver or gold jewelry pins or floral wire instead of coiling rods. Make the stand round, square, star or moon shaped. Before you know it, you’ll have the perfect, unique accent for your fantasy scene.
Supplies:
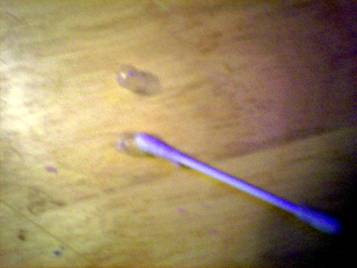
Clear medicine capsule (you may need 2 – see directions)
Cotton swab
Hatpin
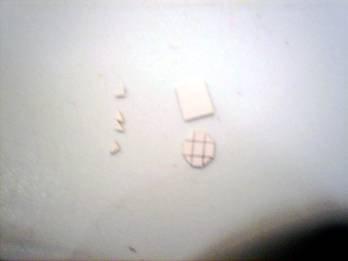
2 pieces mat board cut ¾” square
Glossy black craft paint and paintbrush
Very small amount of ultra-fine sand (available in floral departments)
1 12” brass coiling rod (craft departments) cut into (4) 1 ¼” lengths
8 seed beads
Clear-drying craft glue (Tacky Glue works perfectly)
Fine paintbrush
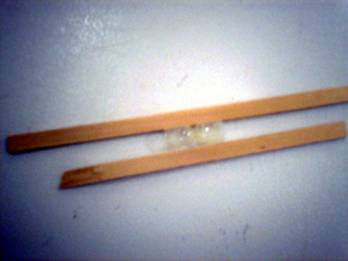
2 straightedges (rulers or pieces of scrap wood)
Ruler
Heavy scissors or wire snips
Craft or razor knife (to cut mat board)
Before you begin: The capsule halves used here are each ¼” diameter and ½” high. The finished project is approximately ¾” wide by 1” high. This makes a nicely scaled Wizard of Oz style hourglass. If you are using smaller capsules you’ll need to adjust all of the cutting measurements to stay in scale.
And a note of caution: The capsules used here are from a fiber supplement which is harmless and easily disposed and empty caps are available in health food stores, but if the capsules you use contain prescription medication, use common sense precautions when you dispose of it (think kids and pets) and, please, never dispose of prescription meds through any water system.
Directions:
Prepare your capsule: First, twist it open and discard the contents. Next, using your cotton swab, carefully insert it into each capsule cleaning out any remaining residue. You may notice that the two ends of the capsules are different lengths; if this is the case, you’ll need to prep a second capsule since the ends you use need to be equal. We’re using the shorter ends. The long ends make great lab beakers, potion glasses and just oodles of indispensable stuff – so you may want to hang on to them.
(Lay one straight edge on your work surface. Place a small dollop of clear-drying glue on one round end of one capsule. (Dipping it into the glue works nicely.) Lay it beside the straight edge then carefully place the other capsule to the glue, round end to round end. Put the other straight edge snug on the opposite side of the capsules so that the capsules are held end-to-end and perfectly straight as they dry.
In the meantime, prepare your mat board. To get the uneven octagonal shape in the example, using your craft knife, start with a ¾” square and simply cut each corner ¼” in, side to side. I draw a box ¼” from each side inside my ¾” square and then cut where each line meets the edge of the square. Paint all sides with glossy black paint. Everything needs to dry thoroughly.
Set your assembled capsules onto your work surface and take your hatpin and hold it by the bead. Heat it (pointy end, of course)…a candle or gas burner will work well. When it’s hot, quickly wipe it with tissue to remove any smoke and then insert it carefully through the center of one end of the assembly through both caps and the glue, twisting slightly to get a nice round hole. Hint: If you look down through the top cap, you’ll be able to see the center – a round clear hole on the surface between the caps – that’s your target.
Carefully, using a clean, fine paintbrush, paint the open-ended edge of one open cap end with glue – a little goes a long way here – but be sure to coat the entire edge or your sand will escape. Now place the glue-coated end in the center of one of your prepared mat board shapes. Let it stand there, upright, to dry completely.
Add some sand through the open capsule – I used a scant 1/4 tsp, but a smaller capsule may take a lot less. One cap needs to be nearly full. Put a little in at a time. (Try a small kitchen funnel and measuring spoon or putting the sand in a tiny plastic bag with a tiny hole snipped in one corner.) The sand should run through the pinhole to the bottom cap. One pinprick worked for me, but your sand might not be as fine so if the hole doesn’t let the sand through, dump it out and repeat Step 4 enlarging the hole slightly. If you over fill it, just tip it and dump out excess until you’re satisfied with the amount in the cap.
Dust off the edge of the open cap to remove any stray sand or dust (your cotton swab will work). Paint the open edge of the top cap with glue, using your fine paintbrush, carefully, and center your second mat board shape on it being sure to match up all the corners. Allow the whole thing to stand upright to dry.
When the assembled hourglass is dry, glue one cut section of coiling rod to the center of each upper and lower ¼” cut edge of the mat boards in the center of the cuts. The rods will extend slightly beyond the mat boards – center them evenly so that the same amount of rod extends at each end. You’ll need to allow one to dry before going on to the next.
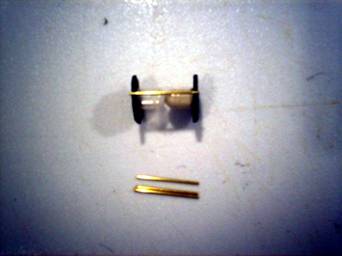
Stand the assembly upright and glue a seed bead on each rod end for feet –a small mount of glue applied with the tip of a toothpick to the hole will be sufficient and the beads will slip right on to rods. Dry thoroughly.

Congratulations! You’ve just created a wonderful accessory for your mini enchanter without agonizing through the long process of learning the ancient art of glass blowing!
Happy Halloween!
Copyright Charlene Crawford Horrocks 2010. Permission granted for personal, non-commercial use only.
Newsletter Home...
|