|
Lighted Crystal Ball
By Deb Roberts

Every little witch, wizard or gypsy needs a crystal ball in their mini scene and crystal balls are easy to make. But what about taking it one step further and giving that crystal ball an eerie and lifelike glow! It’s easier than you think!
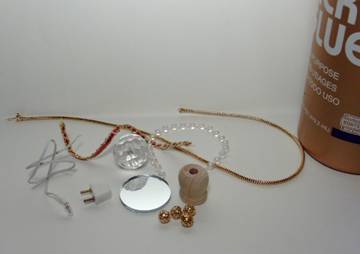
You’ll need:
Large marble or faceted plastic “crystal” ball
1 medium sized woodsie finial (you can also use bead-cap jewelry findings)
Paint color of your choice
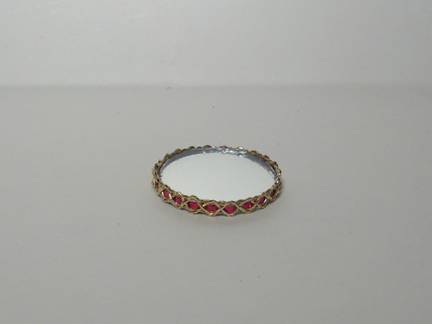
1 small round mirror
Bit of trim in your choice
4 small beads
Tacky glue
Grain of Rice bulb
Male plug
Dremel or sharp xacto blade
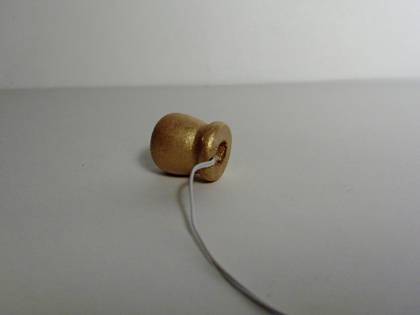
Begin with using your dremel or craft knife to carefully enlarge the hole in the bottom so more light can shine thru. You’ll also need to score a line in the top edge of the finial for the light wire so the holder will sit evenly on the mirror.
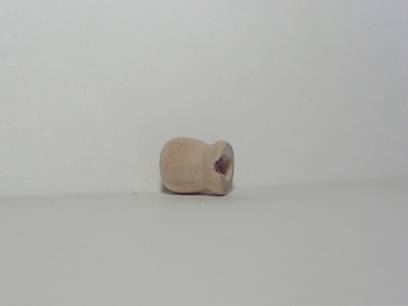
Paint the finial in the color of your choice and set aside to dry.

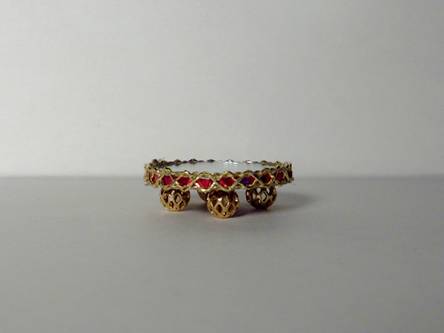
While the finial is drying, glue your trim around the edge of the mirror. Trims can be anything from ribbon, to braid or cords, to sparkling beads or jewelry findings. Dig around thru your craft supplies and see what you can find!
Turn the mirror upside down and glue the four beads to the bottom of the mirror to make feet.
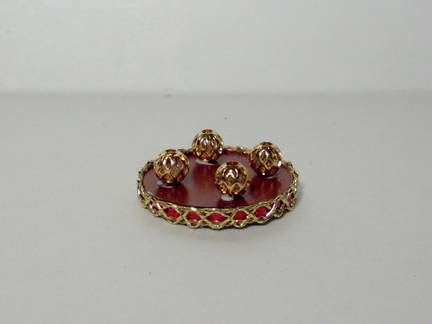
(If you stop here, you have a great mirror tray for a vanity!)
Attach the male plug to your grain of rice bulb.
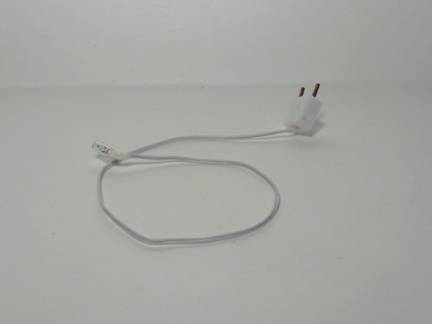
You can use a clear or red bulb, or for a fascinatingly eerie look, use a flickering fireplace bulb! You don’t have to glue the bulb in place since you’ll be gluing the finial to the mirror and this will keep the bulb secure. Simply place the bulb inside the finial and make sure the wire is sitting flush in the groove at the bottom.
Run a thin line of glue around the edge of the finial, place the bulb inside and make sure the wire is setting down into the groove you carved into the edge, then glue the finial to the mirror. Hold firmly until the glue sets, then allow the glue to completely dry.
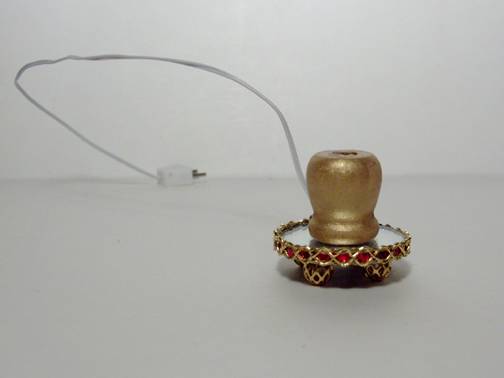
Glue the marble or faceted ball in place on top of the finial and allow the glue to dry.
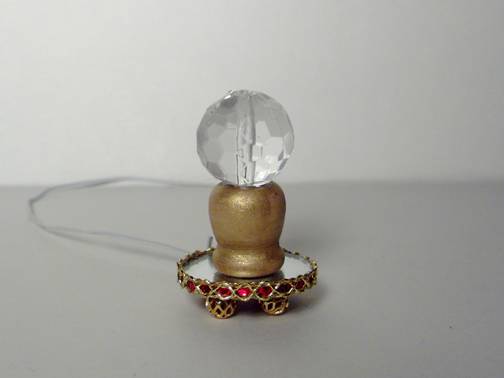
Plug in the light and admire how your crystal ball lights up your Halloween scene! Your witch, wizard or gypsy will be so pleased!
Newsletter Home Page...
|