|
Mattress Construction
By otterine

For my Greenleaf 2010 Spring Fling entry Baslow Ranch, I made a mattress to fit the House of Miniatures single bed. I started with calico cotton fabric that had an old, stained look to it but this method can be used with newer looking fabric as well.
The inner measurements of the bed frame were approximately 3 1/4” x 6 3/8” so I cut two pieces of fabric measuring 3 1/2" x 6 3/4" (figuring in a 1/4" seam allowance). I also cut a 19” long strip of fabric 3/4" wide; this gave me a mattress about 1/4" thick.
For a different sized bed, I am afraid to say there will be math involved. If you want to cover the mattress with thick bedding, you will need to make your mattress smaller than the bed frame. You’ll also need a longer strip of fabric to make it all the way around a larger mattress. If you want a thicker (taller) mattress, you will need to cut a wider strip of fabric.
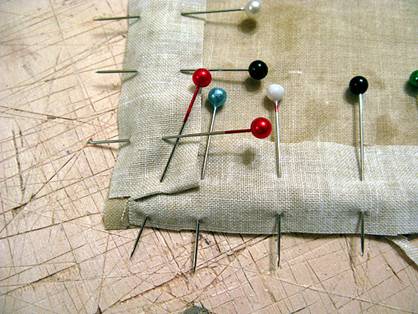
Here are the steps I used to put the mattress together. Use a small stitch so it will look more in scale when complete. With right sides together, pin the two ends of the fabric strip together and sew a 1/4” seam. This will give you a loop of fabric. Pin one edge of this loop to the edge of one of the base pieces, clipping at the corners.
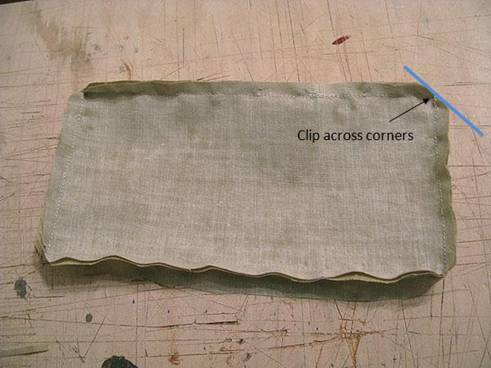
Sew all the way around using a 1/4" seam and then clip the excess fabric across the corners. This will cut down on the bulk in the corners when the mattress is turned right side out.
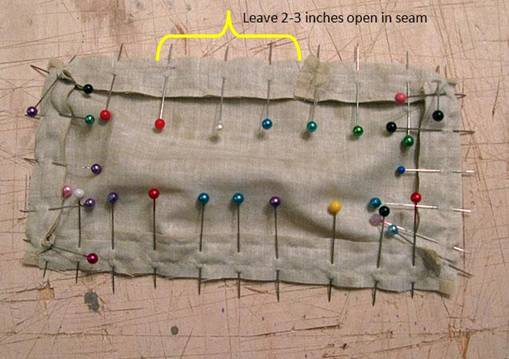
Pin and sew the second base piece to the remaining edge of the long loop of fabric (again clipping at the corners), leaving about two to three inches open in the seam for stuffing the mattress.
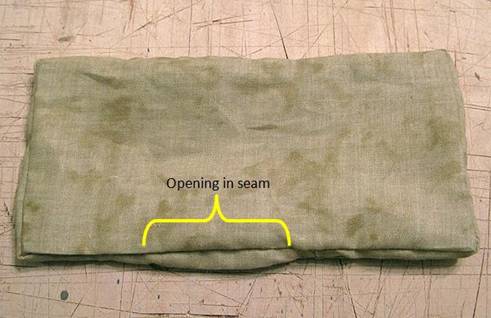
Turn the mattress right side out. Use a pointy (but not sharp) object to make sure the corners are squared and open completely.
For the stuffing, I used thin batting that is meant for millinery (I had some left over from previous projects). It’s similar to felt and can usually be found in fabric stores. Felt would work just as well, though you may need more or less depending on the thickness of the material. I cut four pieces measuring 3" x 5 3/4" of the millinery batting for my mattress. I rolled them all together into a tube shape, inserted the tube into the opening and then flattened the batting out inside the mattress cover. It will take a bit of effort to get them straight and flat inside, but you won’t get the right look without it.

Once stuffed, I blind stitched the opening to close up the mattress.
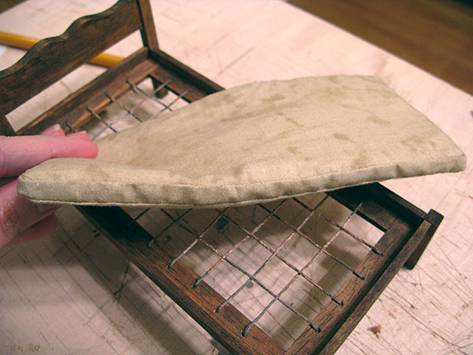
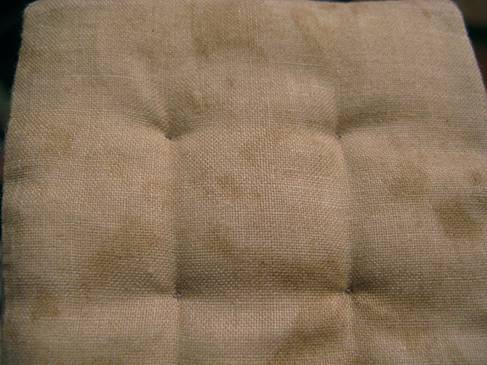
I marked a grid of one inch squares on the mattress and used thread knots through all thicknesses to quilt the mattress. You can make the grid smaller or larger to suit your tastes.
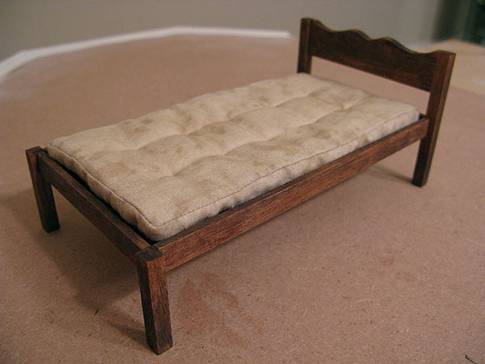
Here’s the completed mattress on the bed. Though it doesn't translate in photos, this really feels like an old, lumpy mattress. But, I bet it would feel perfect after a hard day’s work at the ranch!
Return to Newsletter Home Page...
|