|
Rustic Rock Wall Tutorial
By Deb Roberts
An option for stonework in minis is using real stones! Follow along as we construct a rustic river rock wall perfect for your mini home, garden or park.
Materials needed:
For wall:
Small river pebbles
Styrafoam form cut to desired size
Spackling compound
Paint
Coarse Turf
Tacky Glue
For finished landscaping:
Sheet of mdf, sized to your preference
Coffee grounds
Coarse turf
Spray glue
Hot glue gun
Rolling pin
Spray clear lacquer
Plants, fencing and decorative items for finished yard
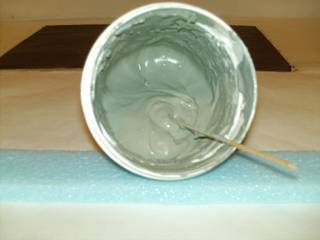
This wall can be used in landscaping, but the same principle works for creating rock fireplaces, chimneys, house foundations, etc. Start by mixing your spackling compound with the acrylic paint color of your choice. Select a color that will represent the grout between the stones. Mix the paint with the spackling to the consistency of frosting.
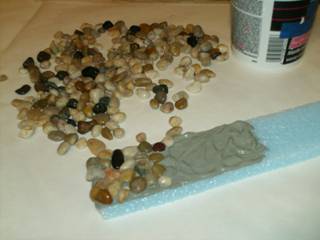
Cut your styrafoam form to the desired size and shape. Spread the spackling mixture onto the form, working with small areas at one time. The spackle will become stiff fairly quickly and you want to be able to press the rocks down into it to get the effect of grouting. Place your rocks as close together as possible.
Continue working till you have one side finished and allow the spackle to harden enough to handle without dislodging the rocks.
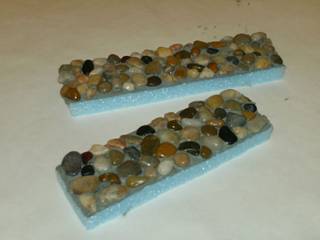
Flip the pieces over and repeat the same process on the other side. Allow to dry.
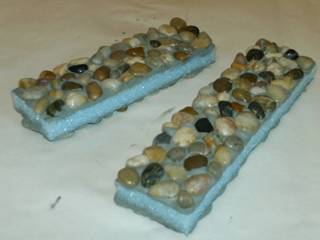
Finally, apply the rocks to the sides and top, rounding the edges for a natural look.
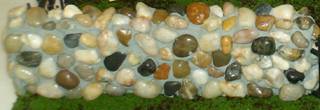
Set the wall pieces aside and let the spackle dry overnight before applying the moss to the crevices.
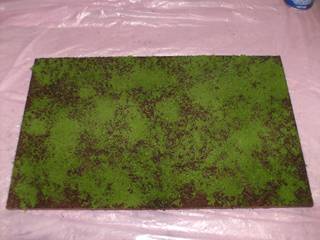
If you’re going to be placing the wall in a landscaping scene, this is a good time to prepare your base. The possibility for landscaping is endless but for an example, we’ll demonstrate a mossy landscape.
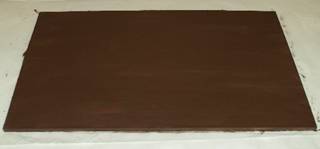
Paint your sheet of mdf dark brown as a base. (Note: sheets of cardboard can be used, but your rock wall is going to be very heavy, so a sheet of mdf or plywood is recommended)
Using spray glue, (in a well ventilated area of course) coat the sheet liberally and then sprinkle on coffee grounds. Use a rolling pin to tamp down the coffee grounds, then gently tip the board and tap off the excess.
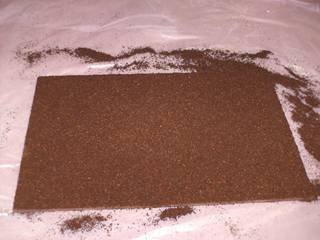
Spray the surface of the coffee grounds with glue, then sprinkle on the coarse turf. Use rolling pin to tamp down, then tap off excess. Spray the surface with clear lacquer. This not only seals the turf, but it gives a dewy appearance to the moss. Allow to dry overnight.
Now that the spackling mixture has dried and set, you can apply the coarse turf to the crevices between the stones. Using a toothpick, apply tacky glue to the stones and grout, then sprinkle on the coarse turf. Use your finger to tamp it down and then gently tap off the excess. Mount the walls to your landscaping base using a hot glue gun.
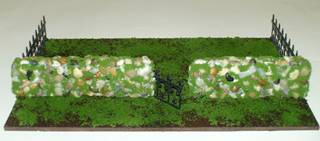
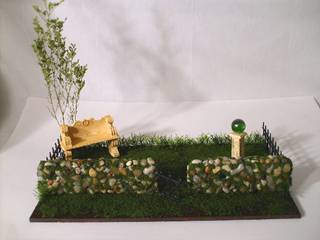
Embellishments after this step are almost endless. A wrought iron fence and gate to create a park or yard is a nice look, or you can continue the rock wall to fully enclose the area. Trees, plants, flowers, decorative items and other accessories can be added to create the look you desire. This can be used as a stand-alone piece such as a churchyard cemetery or a park, or connected to a house for a rustic yard.

Back to the July Newsletter... |