 How to Build a Wishing Well
By Deb Roberts
As a young man in the Navy, Porter Stout spent most of his career frequenting various bars and other public establishments of dubious pleasures and getting thrown out of them, that he decided when he retired to become the proprietor of his own establishment.
Supplies needed:
Wishing well from craft store
(you can create your own well cap from scrap wood if you prefer)
Creative Paperclay
Plastic knife or other blunt plastic carving tool
Tacky glue
Small can to use as form to shape well
Enamel craft paints: black, gray, rust, red
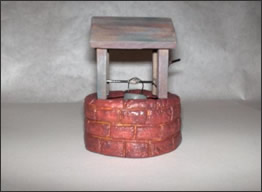
Step 1: Cut off the top of the wishing well at the base of the corner supports, leaving only the roof, support beams, bucket and handle.
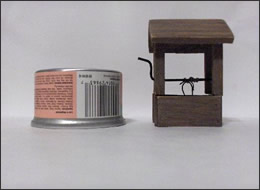
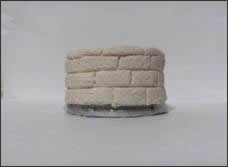
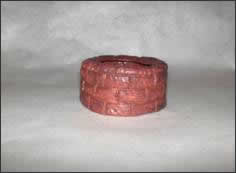
Step 2: Wrap a cat food can in plastic wrap, then cover the sides with a layer of paperclay using your finger to blend the seam shut. Leave a ¼” lip at the top and gently bend it down over the top of the can.
Step 3: Using a plastic knife or tool, press lines into the paperclay to form the bricks. Be sure to extend the lines over the lip created at the top. Allow to dry overnight and remove it from the can.
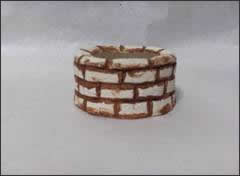
Step 4: Paint the lines cut between the bricks on the body of the well with a rusty brown color, smudging it up onto the edges of the bricks. Dab a brick red paint onto the bricks, using the brush to smooth it unevenly. The red will blend with the rust and give a contouring of the bricks. Finally, dry brush a dark gray over the bricks to age them.
Step 5: Glue the top of the wishing well to the paperclay bottom.
Step 6: Dry wash the wooden roof with shades of green and grey to give it an aged appearance and add a little moss in between the bricks.
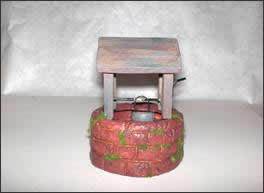
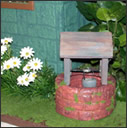
And there you are! A lovely wishing well for your garden!
Back to the May Newsletter... |