|
Turning Bay Windows into French Doors
By Deb Roberts
Are you ready to fling open the doors and let Spring come into the house? Perhaps you’d like to have French doors leading out into your garden but that bay window is in the way. Follow along as we show you how to change a bay window into a beautiful set of French doors.
For this tutorial, we’ll be showing how to install the French doors while building the house. The same principles can be applied to a house that is already built although it is more difficult to make the cuts after the house is assembled.
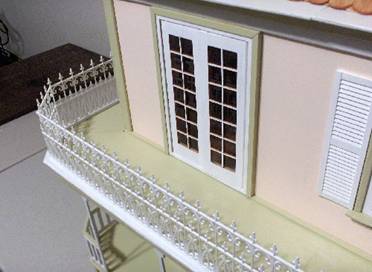
French doors are lovely leading out onto second and third floor balconies, so don’t confine yourself to only having French doors on the ground floor. You can add them to a second or third floor just as easily.
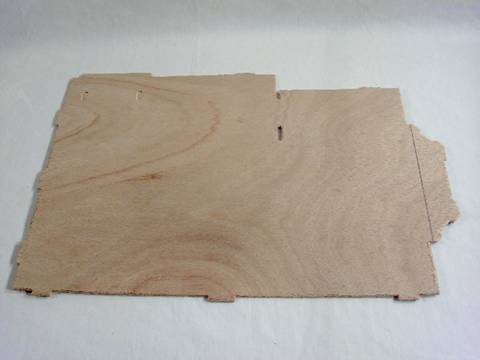
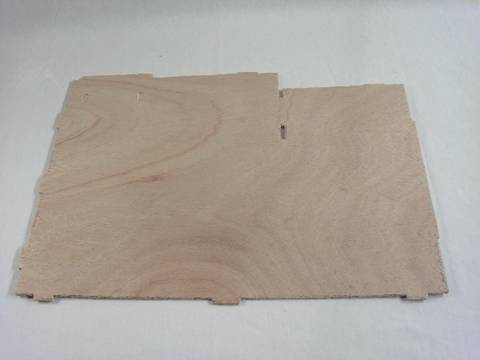
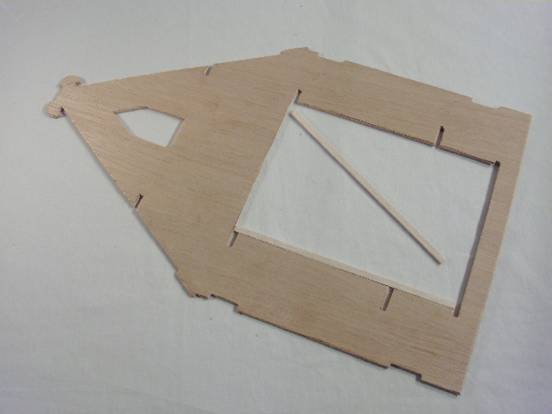
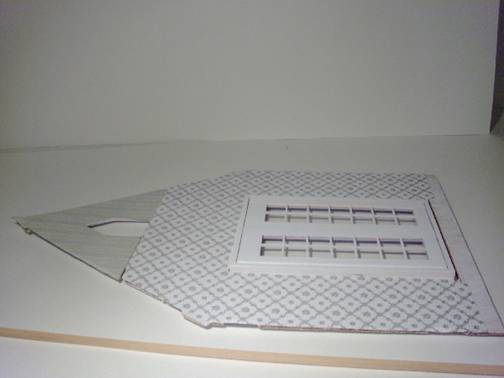
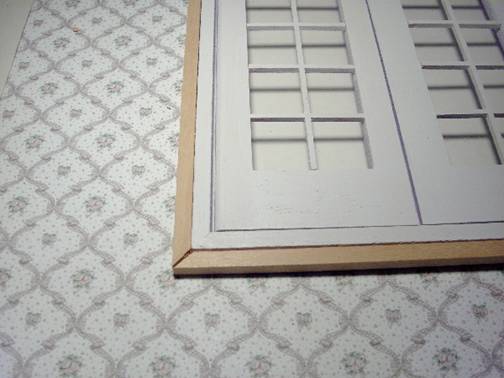
Begin with dry fitting the house so you can test fit the French doors in the bay opening. Use a pencil to mark the edge where you’ll be cutting off the bay extension on the floor. Depending on the type of door you use, the edge may extend just a little bit beyond the edge of the floor and you’ll want to be sure that you mark the cut line on the floor to accommodate that lip. The lip is important because it will extend into the bottom of the slot in the wall. You’ll also mark the sides and top of the opening. In this house, the doors are going to be a little taller than the opening, but the opening is wider so we’ll be cutting out a section of the top and adding filler to the sides.
Using a jigsaw or dremel cutting tool, remove the bay extension from the floor.
Be sure the cut is even with your markings and sand the edges smooth.
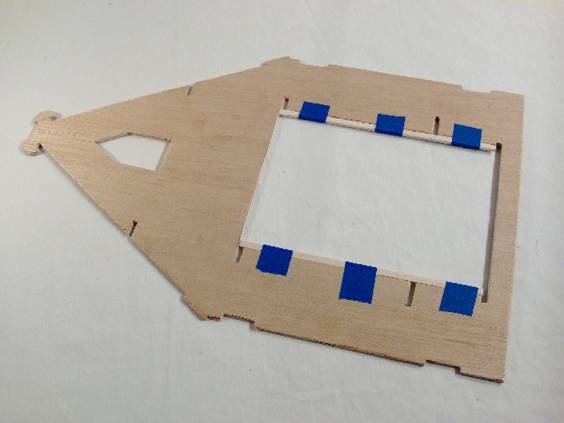
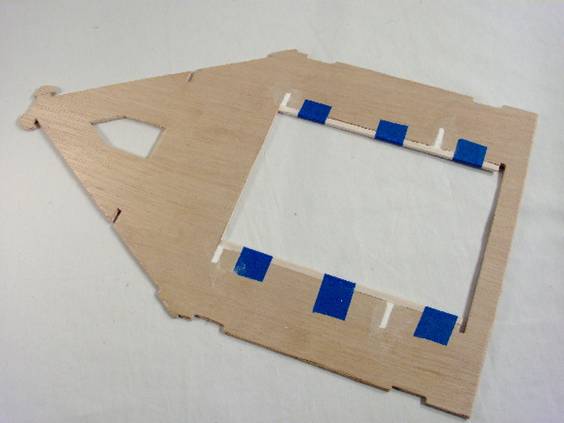
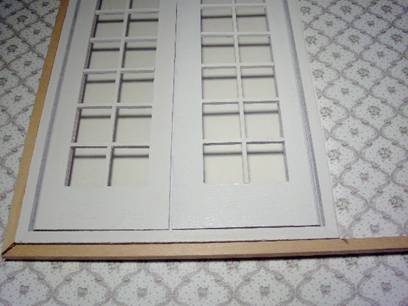
The bottom of the French doors will be flush with the *top* of the slot at the bottom of the opening. Lay the wall flat on the table and test fit the doors again to be sure that your cut line at the top is accurate.
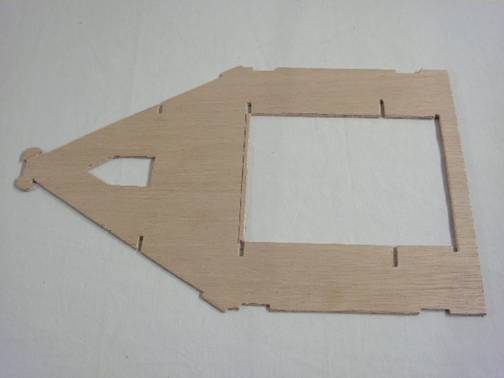
Cut out the top section of the opening.
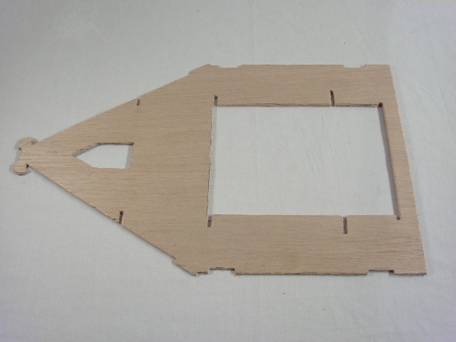
Test fit the door again to be sure that the bottom of the door is flush with the top edges of the slot at the bottom of the opening. This is a good time to dry fit the floor into the slot to verify that the door will fit correctly.
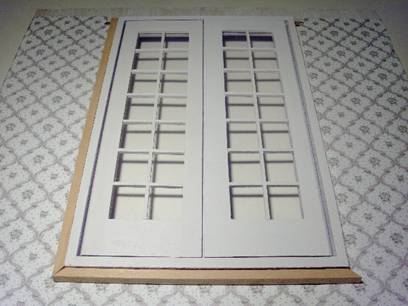
Since the opening is wider than the door, it’s time to fill in the space on either side. The cut out for the bay window was half an inch wider than the doors, so I cut two pieces of ¼” wide basswood to fill in the area on either side of the door frame and glued them in place. Just like the door, the basswood strips come to the top edge of the slot at the bottom of the opening.
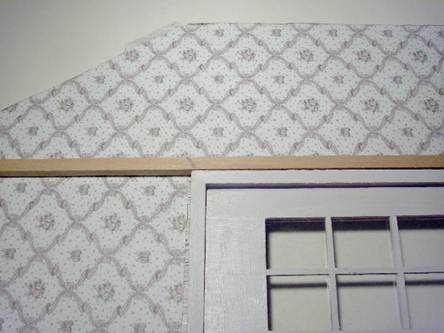
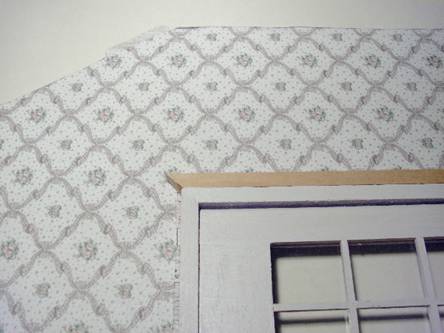
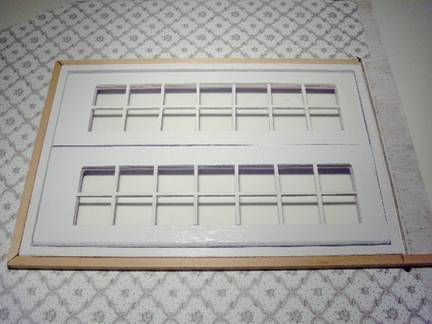
We won’t be needing the slots at the top and middle of the opening so we’ll use spackle to fill them in. Before filling the slots with spackle, place a piece of tape on the inside of the wall covering the slots. The tape helps to keep the spackle from oozing out on the other side. After the holes are firmly filled, scrape the top flat and set the piece aside for the spackle to harden.
My personal style is to decorate as I build, therefore I primed all the walls, both inside and out (priming both sides of the wood at the same time helps prevent warping—if moisture is applied to only one side, the wood will try to pull up). I used stucco for the exterior of the house, so I primed the outside walls with the same paint that I used for the final finish, thus saving a little extra effort later on. Even if you’ll be waiting to paint and wallpaper till after the house is assembled, this is still a good time to prime the wall.
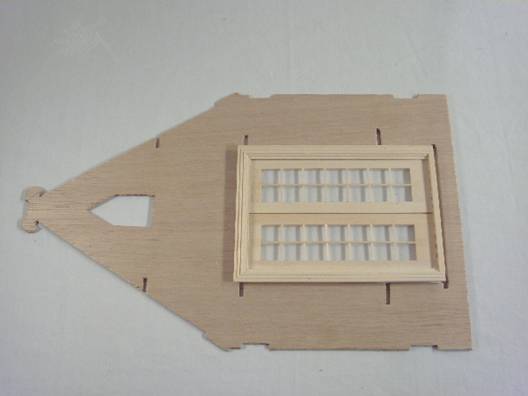
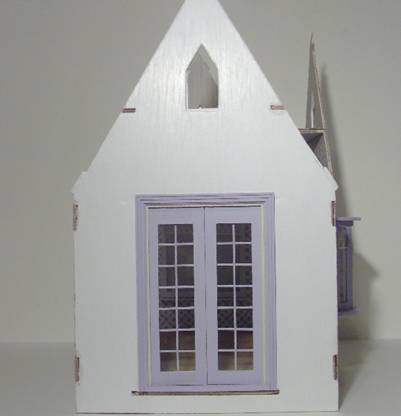
After the primer is dry, put the house back in dry fit and test the doors to make sure they are snug in the frame and that the floor fits flush underneath them.
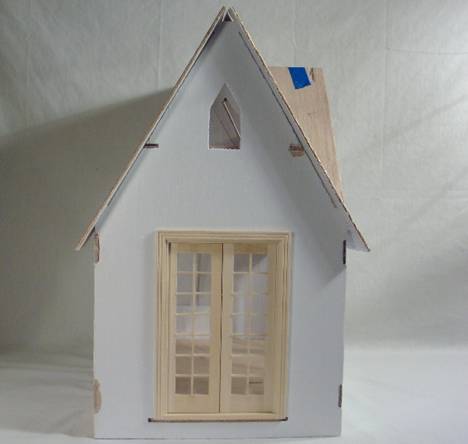
Perfect! Take the doors back out and paint them, then allow the paint to dry before gluing them in place in the wall. Allow the glue to dry completely. If you’re wallpapering while you’re building, wallpaper the wall before gluing the doors in place.
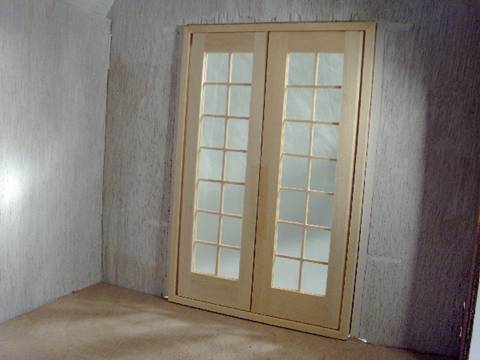
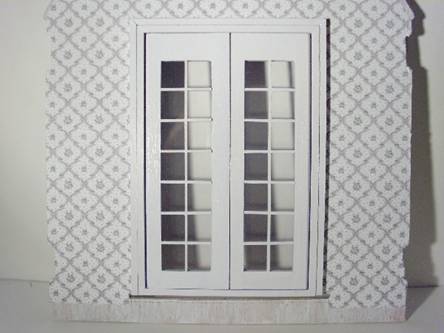
The French doors are a little thicker than the wall so an interior door frame is needed.
For this tutorial, I used a piece of basswood the same thickness as the portion of the doors extending into the room. For a more ornate look, you can use crown moulding or picture frame moulding.
An EZ cutter or a mitre saw box is very helpful for this step to get a precise angle cut. Door frames use a 90 degree angle and the best way I’ve found to measure for the cut is to place the wood beside the door, making sure the bottom edges are flush, and mark where the top inside corner will be.
Make the cut, then double check to be sure it fits perfectly.
Since the cut provides a 90 degree angle on the remaining basswood strip, turn it around and lay that angle flush against the door strip you just cut.
Mark the other end just as you did for the first piece, using the inside corner of the door as your mark.
Cut and dry fit to verify perfection.
One more time with the same process, except this time you’ll be putting that angle cut on the basswood strip flush against the top of the frame and marking for a level cut flush with the bottom of the door.
Dry fit again. Perfect!!

Basswood does tend to splinter or chip just a little when cut so if that happens, don’t automatically throw out the piece and start again. Evaluate the chips and determine if a little spackle will cover it smoothly.
Paint the pieces first, then glue them into place. If any gaps or chips appear, touch up with a little spackle, sand it smooth and then touch up the paint.
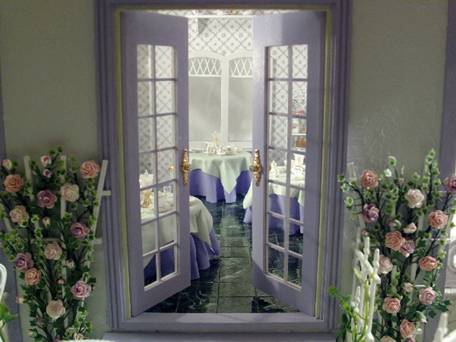
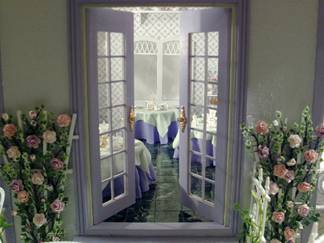
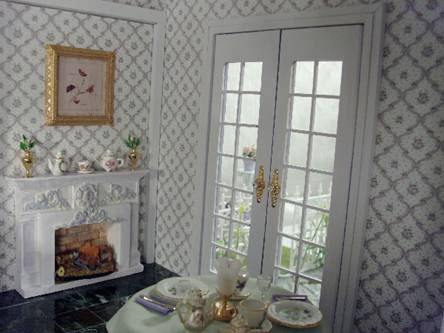
Your French doors are installed and look wonderful!! Continue on with building the house and when it’s done, you’ll be able to fling open the doors and let Spring come right on into the house!
Return to newsletter home page...
|