|
Garden Party Landscaping
By Deb Roberts
What better way to celebrate the height of Spring than to have a garden party! It’s always a delight to invite friends over for an afternoon of wandering thru the gardens, smelling the roses and having tea on the patio. You don’t have a patio or a rose garden? That’s easy to fix with this simple tutorial for landscaping a small house and adding a patio.
Supplies you’ll need:
Sheet of mdf, plywood or foam core for your base
Paperclay
White glue
Hot glue gun
Stiff paint brush for poncing the clay
Xacto blade
Carving tool for paperclay
Noch grass or other sheet grass
White plastic fencing
Ivy
Trellis
Roses and leaves
Garden accent pieces such as a bench, topiaries, birdbaths, etc
Patio table and chairs
Woodie flower pots
Assorted flowers and leaves
Paint in shades of grey, green and your patio accent color
Coarse turf for moss
As with real life landscaping, the first step is to create your diagram and plan out where you want everything to go. Position your dollhouse on the base and trace around its edges with a pencil.
Now that you know where the house will be, you can pencil in the details of your garden and decide where you want each accent piece to be. It’s a good idea to actually place the items on the base and trace around their edges so you know exactly how much space each item will require.
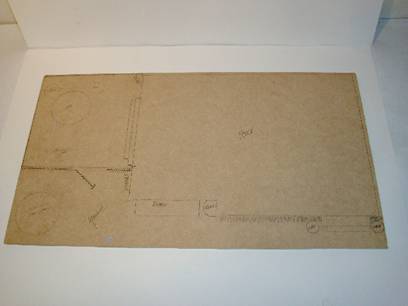
For this garden, I’ve drawn in the area for the patio and included the space required for the open gate.
Before beginning to landscape, it’s a good idea to paint the edges and underside of the base and allow the paint to dry.
We’ll begin with the patio. Roll out a piece of paperclay large enough to cover your patio area. To avoid cracking as the clay dries, try to roll it to the thickness of pie crust and be sure the thickness is consistent over the entire piece.
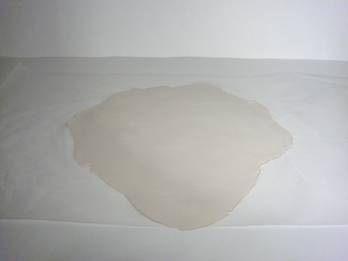
Smear white glue over the patio area on your base being sure to get an even cover.
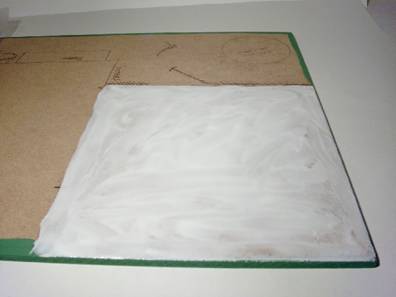
Lay the paperclay over the glue and press down firmly to seal it to the base. Using a rolling pin to press down the clay is the best way to ensure that there are no air bubbles under the clay. If you do happen to have a few air bubbles after you’ve rolled the clay down, use an xacto blade to poke a hole in the bubble to release the air, then smooth the clay back down. Moisten your fingers with water and gently rub the clay over the cut to seal it shut.
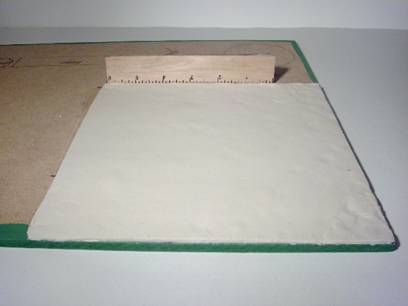
Using an xacto blade and a ruler, trim the edges of the clay to fit the patio space traced onto your base.
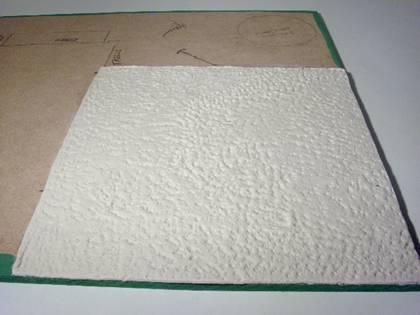
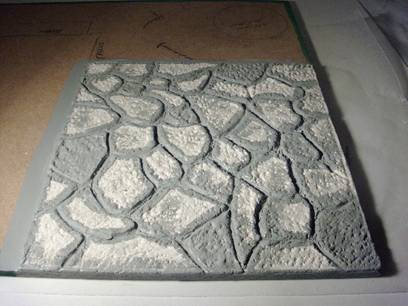
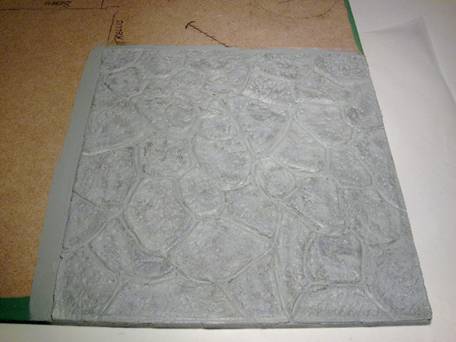
Using a stiff brush, ponce the clay to create a pebbly texture. I save brushes that I’ve used for stucco work because they have the perfect shape and stiffness for poncing clay.

Continue poncing the clay till the entire surface is pebbled.
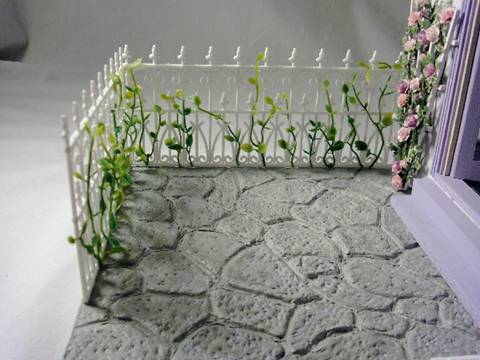
This is a good time to create depressions in the edges of the clay where the fencing will go. Simply take a piece of the fencing and press it down into the clay along the edges. It will be much easier to install your fence later if you’ve made this little “bed” for the fencing to sit into.
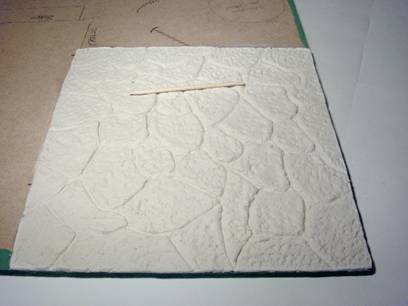
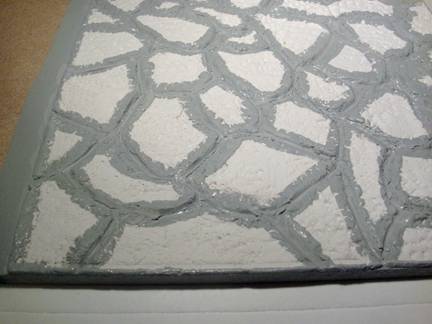
Using your carving tool, a bamboo skewer or the edge of a credit card, score the lines of your stones into the clay. This is probably the most challenging part of making stonework in paperclay. It’s helpful to have a picture of the type of stones you like to refer to while you’re carving. The stone shape can be any type that you like from round river stones to angular slate to precision brickwork. When scoring the lines you’ll want to be sure to press firmly so the lines are well defined but not deeply enough to go all the way thru to the base. As you work, clean the edges of the lines so there are no “crumbs”.
Allow the paperclay to dry overnight. Don’t skimp on this step because painting the paperclay before it’s dried will cause it to crack.
This is a great time to make some of the little features that you’ll be adding to the garden later. Plastic trellises can have leaves and roses hot glued to them for a beautiful accent piece that’s easy to make. For a coordinated look in your garden, use paint colors from your house to dry brush a patina over benches, birdbaths, urns or other “stone” pieces. Wood flowerpots from the craft store can be painted the same color as the house or trim and filled with little flowers and leaves.
After the paperclay has dried completely, it’s time to paint. For this patio, I used four shades of grey paint in graduating tones as well as a lilac paint that matches the house. The choice of color is entirely up to you and what looks best with your house. Again, referring to pictures of the types of stones you prefer makes a great visual aid as you start painting the stones.
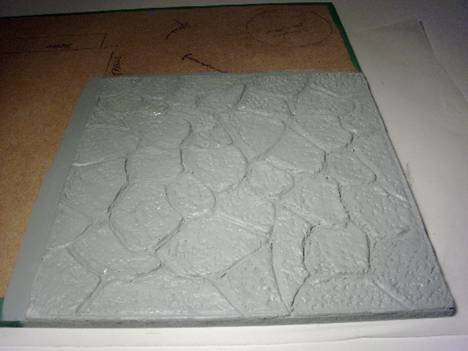
Using the second darkest shade of grey, paint the scored lines of the stones first. Brush the paint up over the edges of the stones just a little bit. You’ll also need to paint around the edges of the whole patio so that no white shows around the sides. Painting the edges of the base the same color will visually pull the base into the stonework for a more realistic look.
Allow the paint to dry. Using a medium shade of grey, one shade lighter than the paint you used for the lines, paint the middle of the stones uniformly so that no white shows thru.
The difference between the dark grey and medium grey paint is very subtle but it helps define the stones.
Time for dry brushing the contours in the stones! This is where the stones come to life with a realistic definition of each stone. I used a dark shade of grey, a very light shade of grey (the other two shades in my four shade grey palette) and a lilac paint that matches my house.
Begin with the darkest shade and dry brush it over the stones, especially over the highest areas of each stone.
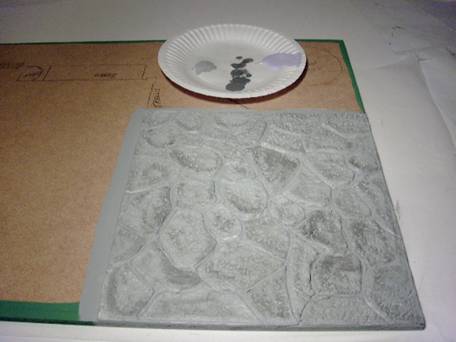
Following the dark grey is the lilac, also dry brushed, but this color goes more into the recesses of the stones. You can see how the stones are beginning to take on depth.

Finally the lightest shade of grey is dry brushed over the stones to provide highlights. Lean back and look at the overall patio area, then use a dry brush to blend the colors where it’s needed. Allow the paint to dry.
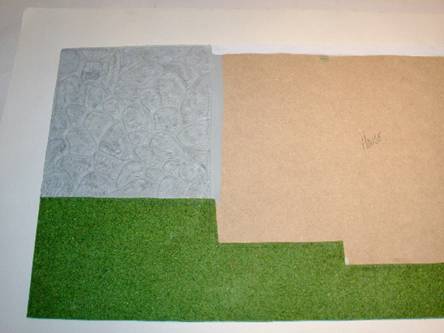
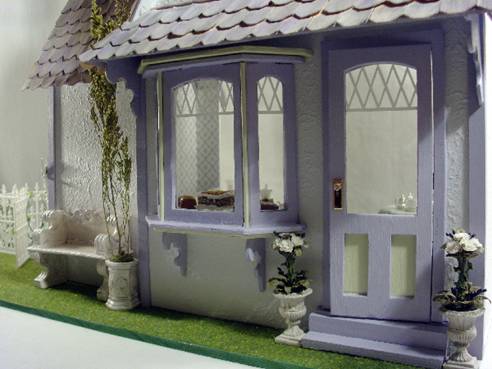
That completes the stonework on the patio, so the next step is to cut your sheet of noch grass to fit the area and glue it to the base. Give the inside edges just a little more grass so it extends under the house.
Attach the house to the base.
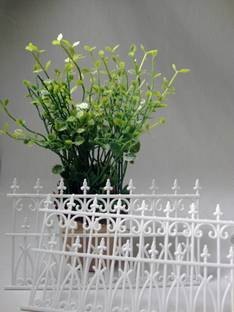
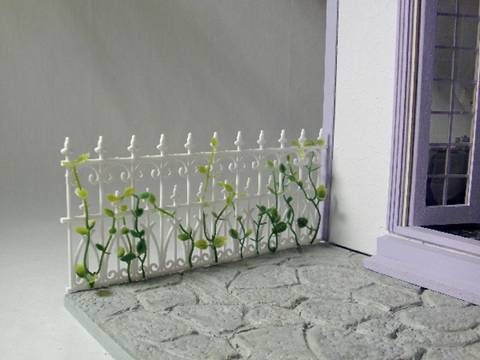
Fencing the patio is the next step and a lovely vine covered fence creates the perfect look. Measure your plastic fence to fit the patio and cut it to size. Be sure to measure the front section to leave space for a gate opening and cut one piece of fencing to that size to create the gate itself.
It’s easier to glue the vines to the fence before installing it. I used a pretty plastic vine found at the craft store and fussy-cut the sections that I wanted to use. A glue gun works best for attaching the vines. You can add flowers to the vines or just use greenery. Once the vines are in place, glue the fencing to the patio, seating it into the grooves you made while the clay was wet. Begin with the very back portion of the fence.
If you’ll be adding a feature such as a trellis into this area, glue that in place now. Working from the back outward is easier to do since you won’t have to reach over the fence or work in a small space after the entire fence is installed.
Install the side pieces of fencing.
If you wish to have mossy stones, run a thin line of white glue here and there between the stones and press in small amounts of coarse turf.
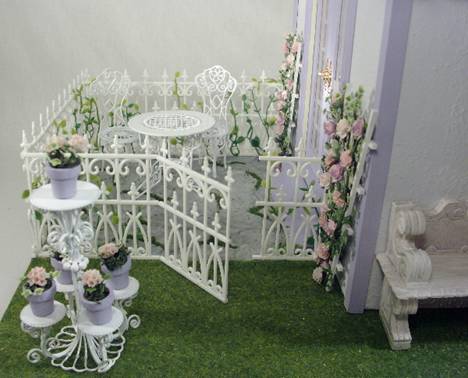
Glue the front fence pieces in place, leaving space for the gate.

Add the gate at an open angle and another trellis or feature to the other side.

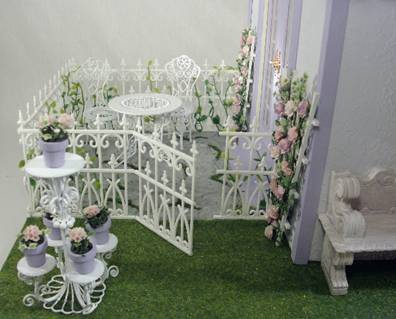
Now it’s time to add in accent pieces such as your patio table and chairs and a planter, birdbath or other feature to the corner of the yard. I used wood flower pots painted to match the house trim and filled them with lichen and small pink geraniums for the planter.
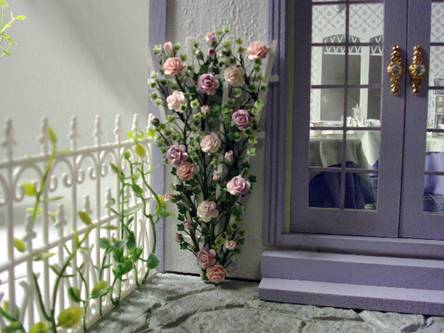
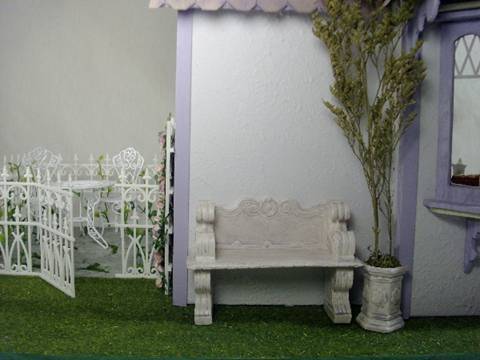
At the front of the yard, place your accent pieces such as topiaries, urns or benches.
The tree pot is an umbrella stand that has been dry brushed with lilac paint, then filled with lichen to hold up a tree made from dried flowers. The bench beside it has also been dry brushed with lilac paint to match the house trim.
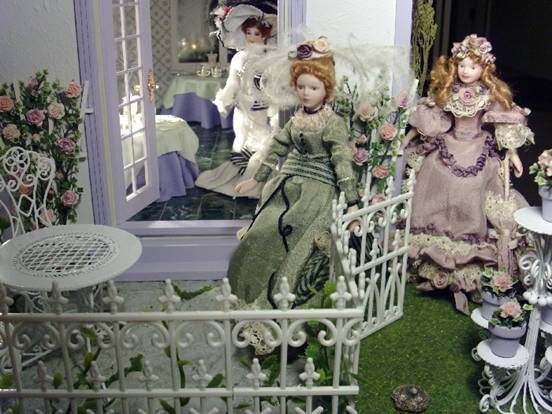
The only thing left to do is invite your guests to come to tea! They’ll be so impressed with your beautiful garden and patio that maybe they won’t notice that mole that popped up on the lawn!
Return to newsletter home page...
|


