|
Simple Parquet Floor
By Deb Roberts

One of the most elegant looks in a mini house is a parquet floor. Whether the design is simple or ornate, it always adds that dramatic look to any house. Let’s take a look at how a fast and easy parquet floor can become a part of your mini home.
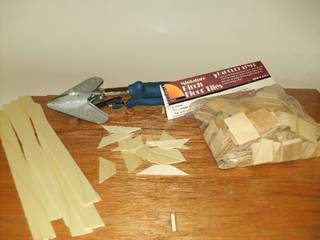
Tools needed:
Greenleaf Birch Floor Tiles
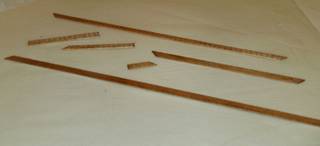
Siding strips
Basswood strips
Glue
Stain in several complimenting colors
Varnish
Cutting tool such as the EZ Cutter or mitre box
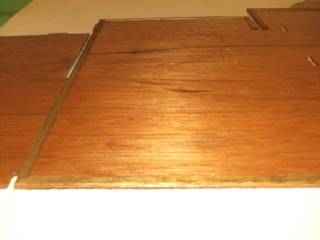
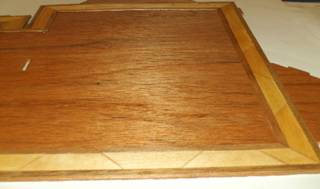
You can add a parquet floor to a house that’s already assembled, but in this tutorial, we’ll take a look at inlaying the parquet before the house is assembled. Mark out the area for the floor, being sure to leave space for any interior walls. Trace the outline in pencil and then dry fit your exterior and interior walls to make sure the outline is correct. Cut and stain basswood strips to fit along the outline and glue in place.
For a nice outline for this floor, I used siding strips cut at angles on both ends. Placing the pieces in dry fit while you’re cutting them will make the job go much faster with fewer mistakes.
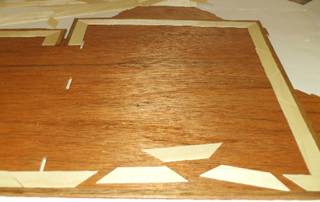
These pieces are then stained and glued in place.
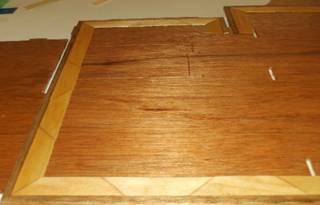
For the interior edging on this frame, mitre cut strips of basswood to fit perfectly along the inside edges.
Stain these pieces and glue into place.
Now that your frame is in place, you’re ready to start adding the floor tiles. The tiles can be stained before you glue them down or after they are in place
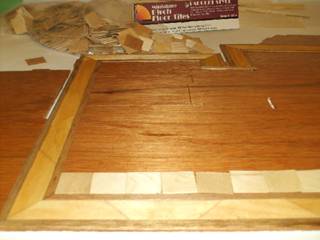
Start with an exterior corner and lay the tiles out flush with one another. Work in rows and complete one row before starting another. Stagger the tiles in alternating rows so that the joins are in a checkerboard pattern and not aligned.

You can see that the natural variations in color of the wood tiles creates it’s own design. As you lay in the tiles, you may want to be aware of the coloring of each individual tile.
Once you’ve inlaid all the tiles, stain and then varnish your floor. A poly varnish works well. For the ultimate shine, use at least three coats of varnish, sanding lightly between each coat, before applying the final coat.
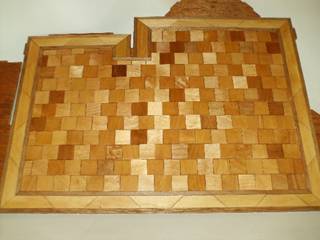
And there’s your gorgeous parquet floor!
Return to home page... |