|
Annas Fimo Pumpkin Pie
By Anna Magnusson
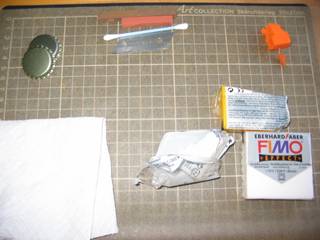
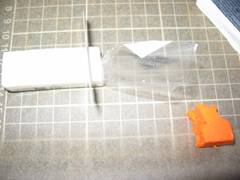
What you need: bottle cap or any pie pan you have around, a piece
of kitchen towel, a Q-tip, two different shades of brown chalks,
fimo clay in translucent, white, warm yellow, orange and caramel/nougat (if you have it, some liquid Fimo works wonders) and a blade to cut the clay with.
I use my cutter mat as a base as I will do some chopping and then I place a piece of wax paper on top of that.
I start with what will become the "filling" and cut a thin slice(a little will last you a long way) of the translucent clay, add some orange and a pinch of yellow to the translucent and mix it up pretty well. It will work brilliantly if it is slightly marbleized.
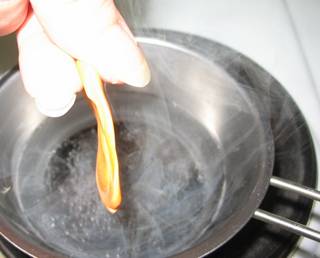
Flatten it out and dunk it in boiling water for a couple of minutes.
It is time to start conditioning the clay that will become the crust. I take a piece of the translucent clay and add small amounts of yellow, solid white, a pinch of orange, and a little more of the caramel/nougat/brown and kneed together so that it turns into a pie crust color. Add more of the colors if you think it is too pale.
When you have the crust the color you want it, divide it in two pieces, one slightly smaller than the other.
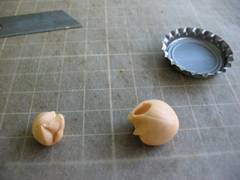
Roll the large crust piece into a ball and then flatten it out into a circle that fits the bottle cap nicely.
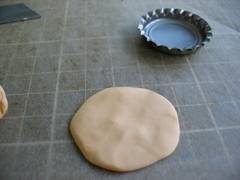
Put the circle inside the bottle cap and shape it around the edges.
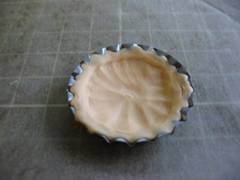
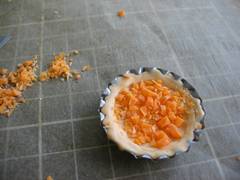
It is now time to chop up the filling. This is where a little will go a loooong way... If you have some Liquid Fimo, pour some in the bottom of the pie, but if you don't have it will work anyway.

I chop the filling piece in small strips and then go back and forth with the blade just like I would if I were chopping nuts in real life until the pieces are as large or small as I want them. Then I pick some of it up and put into the pie crust. Push it down a little into the unbaked fimo crust/Liquid fimo.
I roll the last piece of pie crust mix into a long snake and divide it into smaller sections. These will be my "grid" on top of the pie.
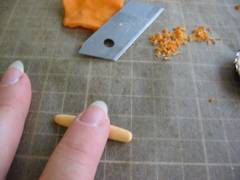
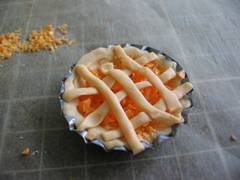
I flatten them a little and then put them on top of the filling, lightly dab it in place at the edges.

Bake your pie in the temp according to your brand of polymer clay for approximately 10 minutes, let it cool a little.
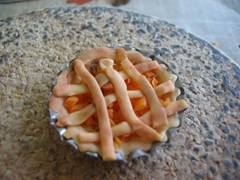
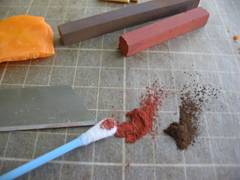
With the knife I gently scrap alongside the chalks so that I get a little heap of powdered chalks, dab the cotton swap in the dust, go over the edges where it would have gotten more colors, add some darker here and there until you are happy with your "baking"
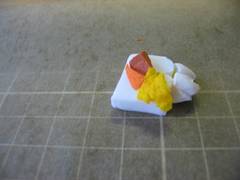
See? Good enough to eat!!!
Return to Newsletter Home...
|