|
Brownstones Backyard Garden
by Deb Roberts

Brownstones have a rather unique challenge when it comes to landscaping. Row houses don’t have room for more than a planter or two on the front stoop, so tiny little gardens filled as much space as possible in the back yard. I’ve designed this tutorial to work in two ways. It can be a stand-alone vignette if you use the wooden base, or it can be worked into the back garden of your Brownstone dollhouse. Either way, it’s a lovely little scene that makes me think of quiet evenings spent potting plants in the backyard with the sound of crickets chirping. It’s very homey and earthy and peaceful.
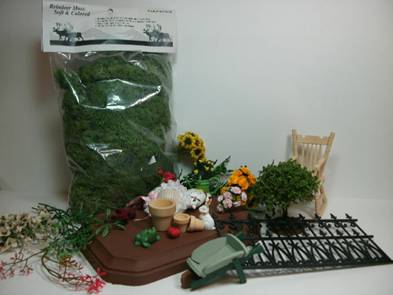
Here’s a list of the things you’ll need to make this scene:
A wooden base approximately 5”x7” (not needed if you’re landscaping a dollhouse)
Bag of reindeer moss (lichen)
Brown paint
Small bush or tree
Bits of plastic floral filler from the craft store
A couple of outdoor animals such as rabbits, birds, squirrels, etc.
Feature piece—rocking chair, wheelbarrow, birdbath, etc.
Accessory pieces—watering can, flower pots, hats, statues, etc.
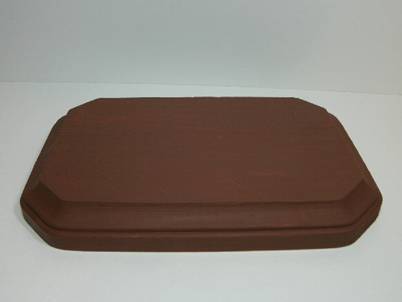
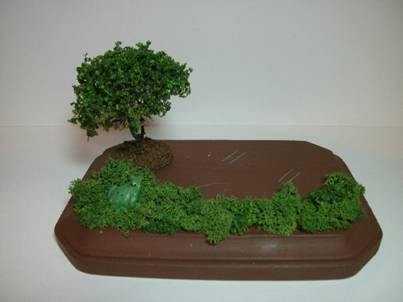
Begin by painting the base “dirt” brown. If you’re landscaping a dollhouse, mark off the garden space on your wooden base with a pencil and paint that space brown so it looks like dirt.
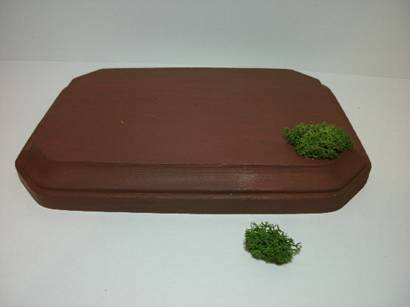
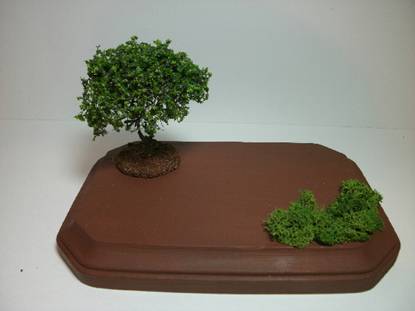
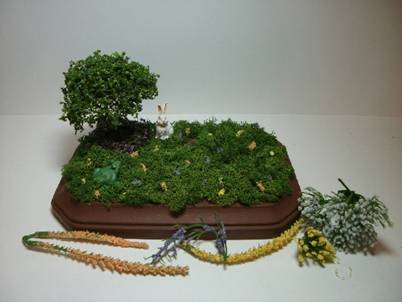
Create your balance points on the base by marking where your focal points will begin and end. Since I wasn’t sure exactly what I was going to put into this scene by the time I was finished, I began by gluing some lichen into one corner and then gluing the bush into the corner diagonally across from the lichen.
Now that I have the items in these two corners placed, I have a sense of perspective for the entire space. Low items always go in the front and taller in the back to ensure that your scene is in proper proportion.
With these two corners set, I was able to place the rocking chair on the wooden base and use a white pencil to mark its position. After that I went back to gluing on my lichen ground cover.
I like lichen and work with it quite a lot, but there’s a trick to working with it so that it doesn’t look like you’ve dyed a poodle green and glued it to the ground. I love its realistic appearance for small scale foliage and this seems like a good time to share some little things you can do to get the most out of it.
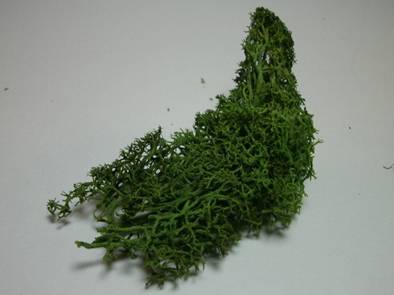
First of all accept the fact that you’re only going to get to use about half the contents of a bag of lichen because it’s harvested as a whole piece so there’s a lot of roughage and chopped pieces mixed in with the really good stuff. Usually it’s better economics to buy the larger bag of something than the smaller but in the case of lichen, you’re better off getting the smallest bag possible for the project you’re doing. It also doesn’t save well since it loses its elasticity when it dries out.
Before you begin using it, you’ll want to dump out the entire bag and pick out the best ‘fluffy’ pieces that have a nicely rounded and tightly grouped top. You’ll have to pick out the bits of wood and bark from even the highest quality lichen so check each piece carefully as you sort thru the bag. It’s best to work with pieces of lichen that are about the size of a quarter and instead of tearing the lichen with your fingers, use a pair of sharp embroidery scissors to cut thru it. Gently loosen the clump and you’ll be able to see the larger stems inside that you can cut to separate the pieces.
Once you have your clump cut free, turn it so the pretty side is down and use your scissors to cut off the stems underneath. That eliminates the bulk of the lichen and leaves you with a nice piece to glue to your base or yard.

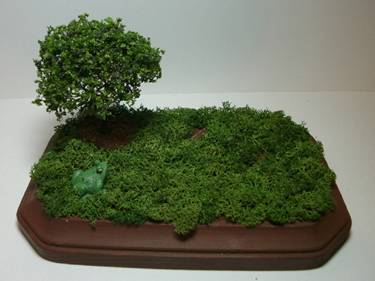
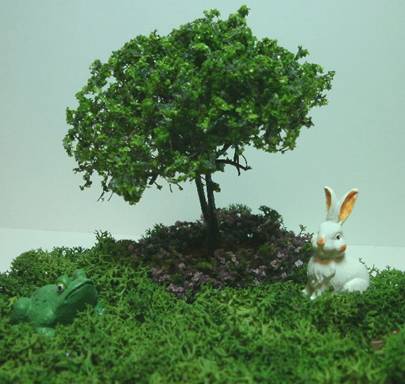
Continue gluing the lichen to the base to create a nice ground cover. Leave some bare spots for places where you intend to glue down other items. Remember that a wooden chair will adhere better to the wooden base than to the lichen cover. (I’m not sure how that frog got in there but he’s cute so he can stay.)
I much prefer a wild and natural landscape but sometimes things need to be at least a little bit civilized so I added a tiny border around the base of the bush using synthetic matting ground cover purchased from a miniature retailer. I cut a thin strip of matting and then stretched it out gently with my fingers before gluing it in place. I think the frog approves.
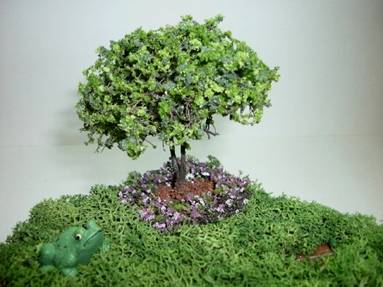
In fact, the tiny lilac flower border is so pretty that it needed a rabbit beside it. Either that or the frog was lonely and needed a friend. Regardless of the reason, the bunny is pretty darned cute sitting in the grass like that.
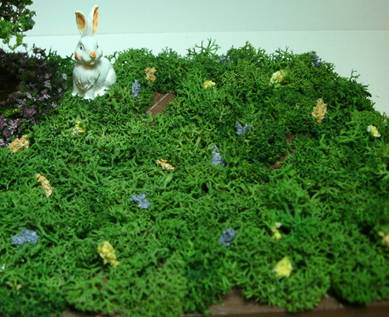
The next step is to add a little more color to the scene. We’ve all seen the floral filler pieces in the artificial plant section of the craft store. These pieces don’t have any real shape to them; they look more like colored dryer lint that’s been dipped in glue and stuck to a branch. The good thing for miniaturists is that you can carefully snip little pieces of that colored filler off of the branches, dip them in glue, and snug them down into the lichen as little touches of wildflowers here and there.
This time the bunny is very approving, but that doesn’t surprise me. Bunnies like tiny bits of color like that.
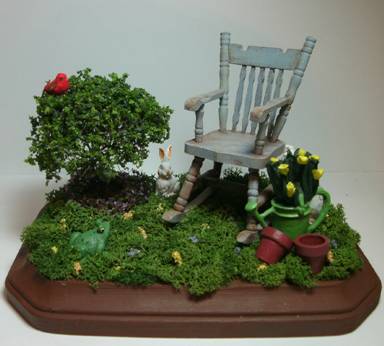
The bush was looking a bit bare so I put a touch of glue on the bottom of a red bird and snuggled him into the branches. I’d already painted the rocking chair and added a weathered patina finish to it (see the next tutorial in this issue of the Gazette for how to do that) so all it needed was to be glued to the base.
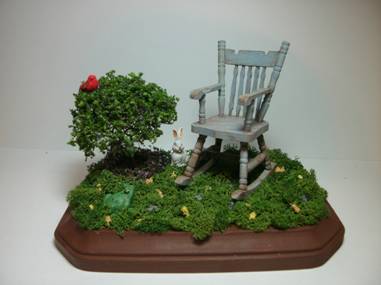
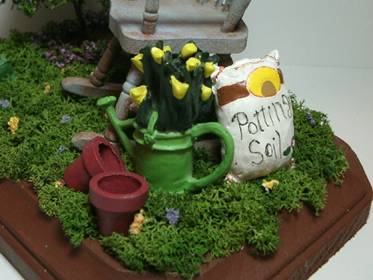
At this point the scene is very pretty and might even be considered complete in some cases, but when I sat back and looked at this all I could see was a peaceful place to sit down and rest while I do the gardening. Therefore, there are a few accessories that need to be added to complete the scene. For my gardening look, I added a couple of clay pots, a watering can filled with flowers, and a bag of potting soil. If you like to garden, this scene is just heavenly!
You can change the tone by changing the accessories and using items like a sun hat, a book, and a glass of lemonade with a less weathered chair or make it more natural with an ivy covered statue or birdbath.
In this case, a peaceful gardening scene is just right for small spaces such as the backyard of a Brownstone. The frog agrees.
Return to Newsletter Home...
|

