|
Merry Scarecrow Tutorial
By Otterine
This is a fun, simple and versatile tutorial for making raffia and polymer clay scarecrows.
Along with craft glue, some small clamps, a ruler and scissors, you will need:
- Orange polymer clay
- Clay sculpting tools
- Orange or natural raffia
- Black sewing thread
- Black felt
- Yellow paper
- Leaf paper punches
- Ball stylus
- Black paper
- 1/16" hole punch
- Black paint and small brush (optional)
- A small bit of wire and mini drill (optional)
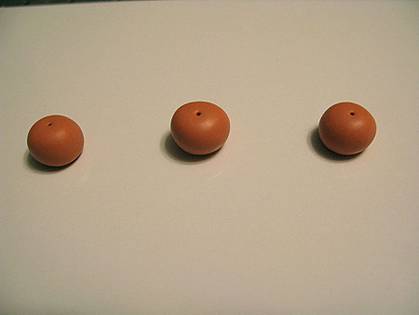
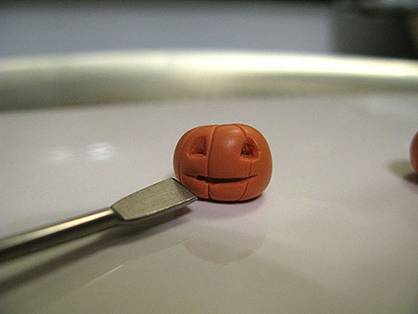
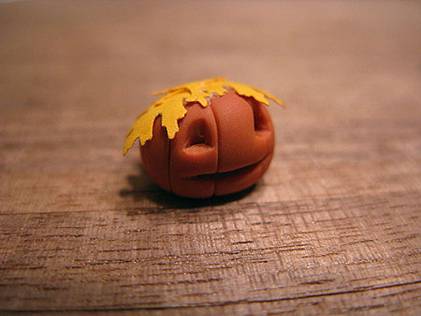
To make a polymer clay pumpkin, roll some orange polymer clay into a ball in the size you wish for the head. I've used Fimo in Cognac here to form a ball approximately 3/8" in diameter. Flatten the sphere just a bit and mark the top center with a clay sculpting tool.
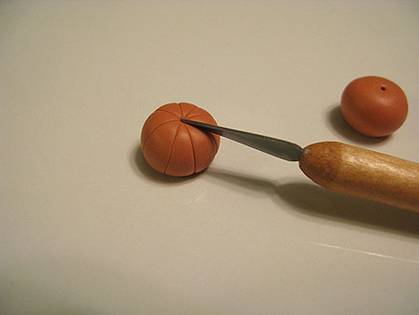
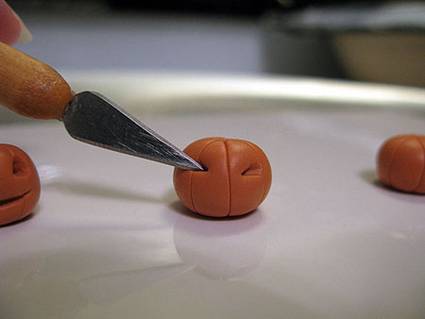
Using your sculpting tool, create indentations from the top to the bottom along the sides, evenly all the way around.
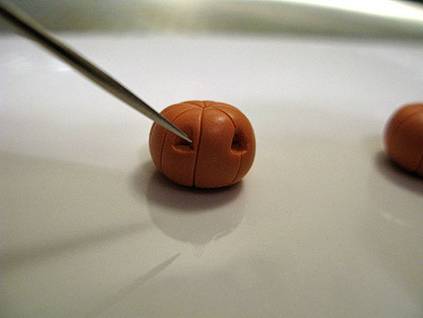
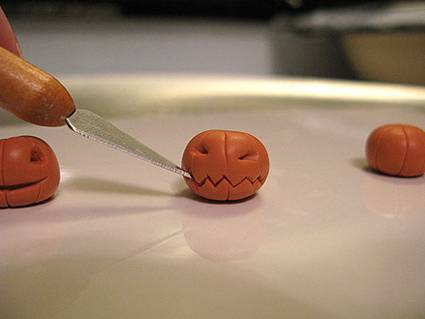
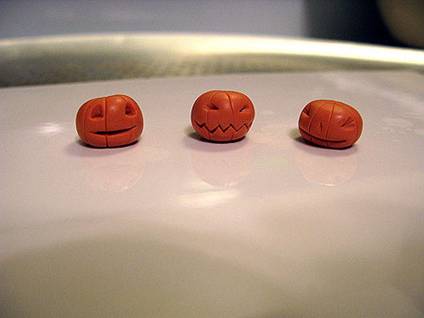
Create a face by indenting the clay. I've used these various tools for the faces created in my examples.
Bake according to the clay instructions and set aside to cool.
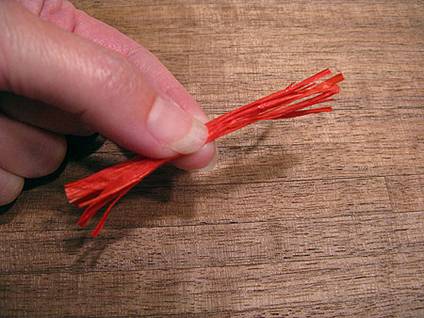
Determine the height you want your scarecrow to be from neck to feet (the polymer clay head and felt hat will add to the height, so take this into account). Take about 8-9 pieces of raffia and cut to half the height measurement plus a little extra for trimming. I've made mine just over 3" long.
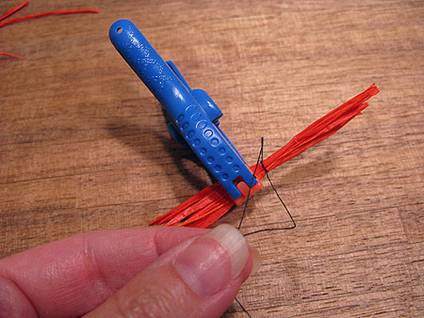
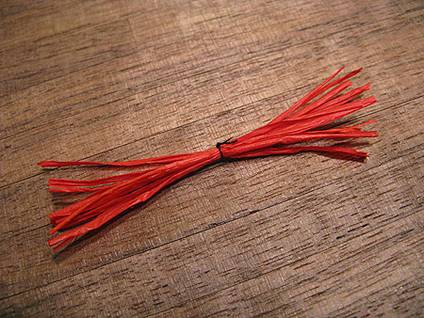
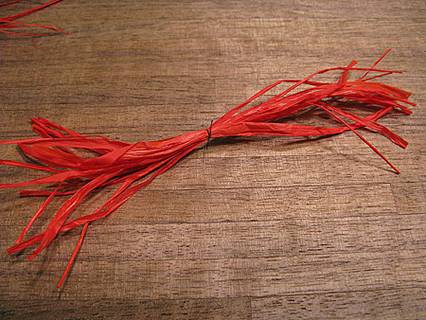
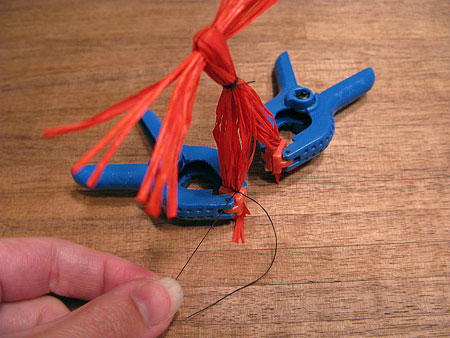
Tie the raffia bundle in the exact middle with black sewing thread, being sure to knot a few times. Cut the ends of the thread but not too close. This assembly will form the arms. Tip: use a clamp to hold the raffia while you tie the knots.
Take about 13-15 lengths of raffia and cut to twice the height measurement plus some for trimming. I've made mine 6.5" long.
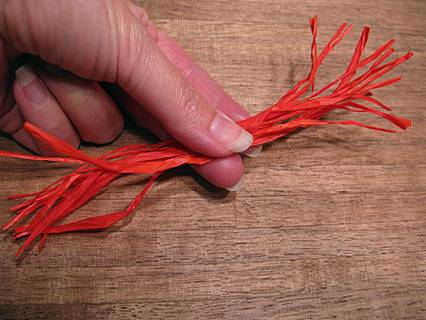
Tie the raffia bundle in the exact middle with sewing thread and cut the ends of the thread. This will form the body and legs.
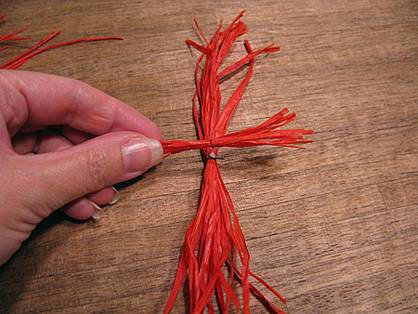
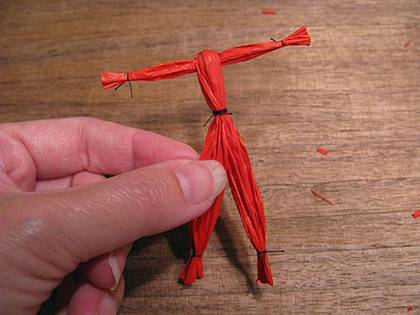
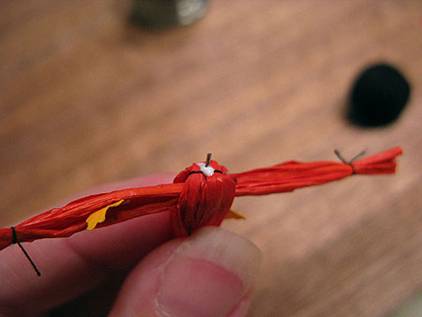
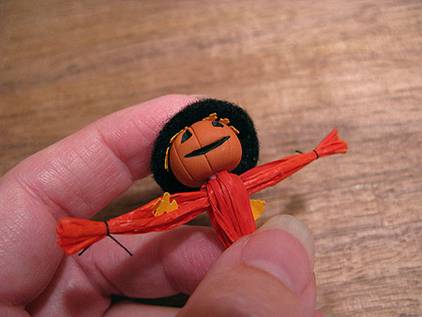
In the exact middle, glue the arm assembly at the knot and fold the body over.
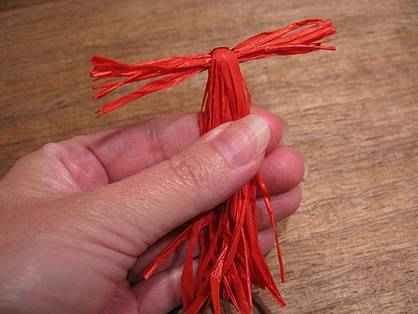
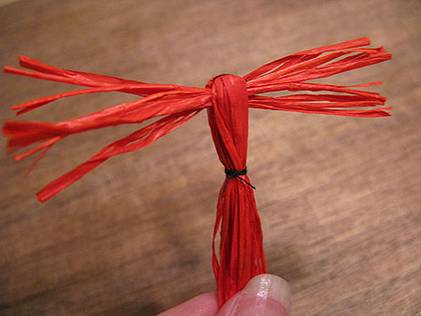
Tie the waist with black thread. Wrap the thread around a few times to form a belt (you can also add thin ribbon) and knot the thread. Cut the ends of the thread.
Separate the raffia below the waist into equal amounts. Tie at each ankle with black thread, leaving a bit of extra raffia to form the feet. Cut the ends of the thread. Trim the raffia ends even.
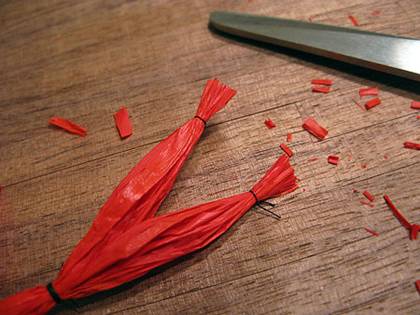
Tie at each wrist, leaving a bit of extra raffia to form the hands. Cut the ends of the thread. Trim the raffia ends even. Set body aside.
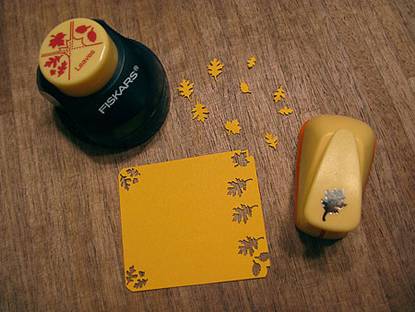
Punch out leaves from yellow paper. I use the larger leaves for the head and the smaller ones to stuff into the body.
Cup the leaves by rubbing them with a ball stylus.

Glue three of the larger leaves on top of your pumpkin, clipping or shaping as necessary.
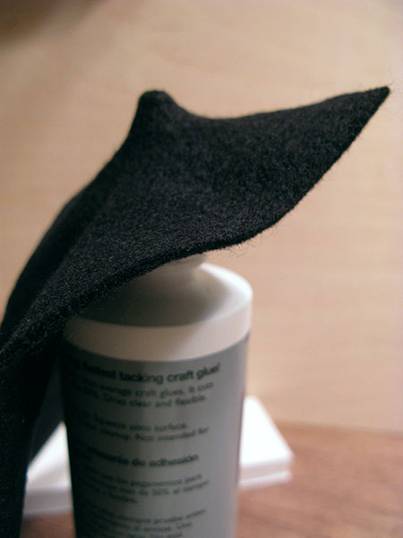
Using the tip of your glue bottle, press the felt down to form a bubble in the felt. Work gently and slowly, otherwise you'll poke right through. I find it easier to make these bubbles on a larger piece of felt and then cut them to fit.
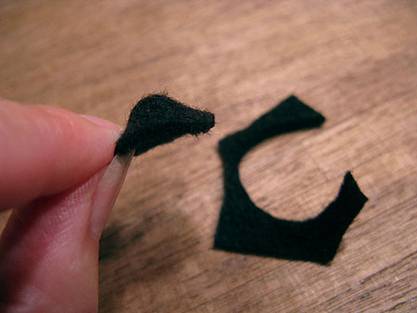
Using your polymer clay pumpkin as a guide, trim the black felt around the bubble to make a hat.
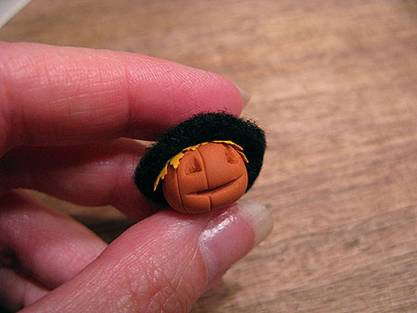
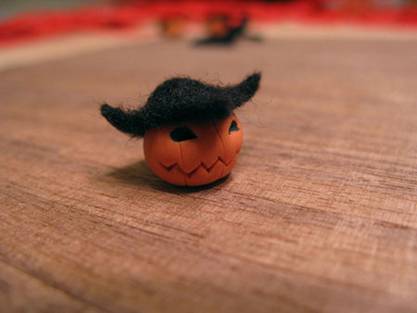
Glue the hat in place over the leaves.
You can also skip the leaves altogether and make any crazy shaped hat you want.
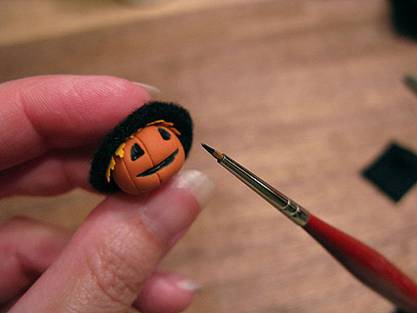
If you'd like to paint your pumpkin's face, use a small brush to apply acrylic paint into the indentations for the eyes and mouth (and nose, if you made one). You'll need to let the paint dry before finishing.
Shape and glue the smaller leaves into the raffia of the body.

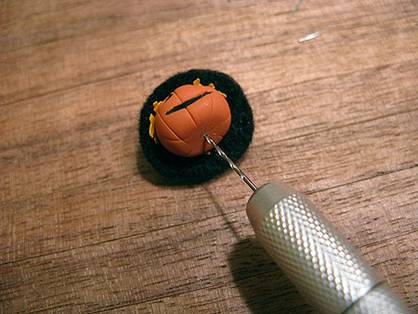
This next step is optional, but I find it adds stability. Using a small drill, make a tiny hole in the bottom of your pumpkin where you want it to attach to the neck and shoulders.
Glue a small bit of wire into the neck (I used a small length of jewelry wire I had on hand, but the wire from a twist tie would work just as well).
Glue the other end of the wire into the head at the neck and shoulders, adding glue between the head and the body as well. Gluing polymer clay to anything is often semi-permanent, so you may need to apply glue again in the future. Having the wire in place helps keep your scarecrow from turning into the headless horseman even if the glue comes loose. :D
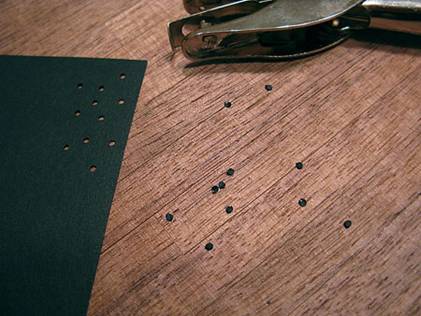
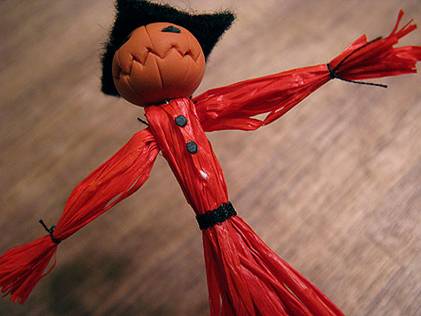
Punch out some 1/16" circles from black paper. Glue on as buttons to the front above the waistband. You could also use paint for the buttons but be sure to set it aside and let dry completely before handling.
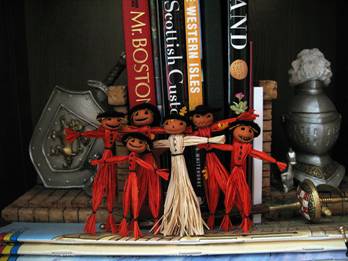
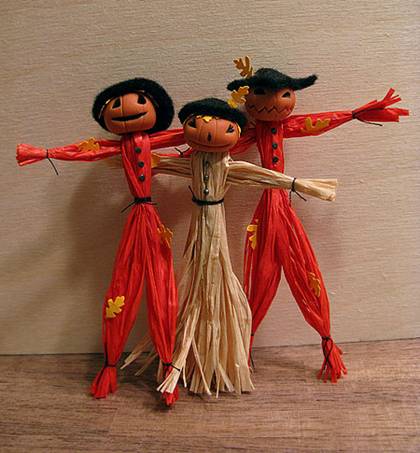
Here's an example using natural raffia (I used a larger bundle for this one to have a full skirt). For the skirt, I left the raffia below the waist untied and trimmed the bottom edge for a clean look. I used small half beads for the buttons and put a leaf on her hat. Isn't she pretty? :D
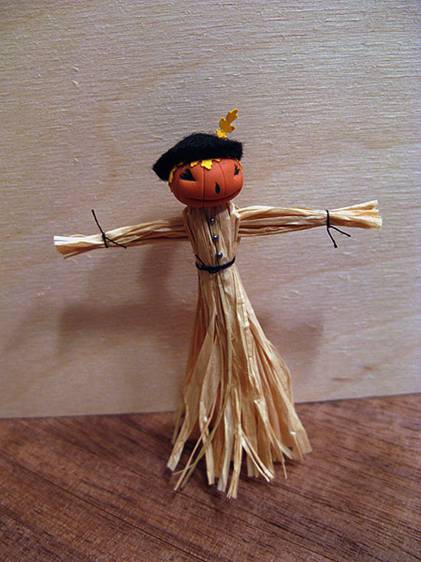
And, there you have it...a merry scarecrow (or three) for your autumn or Halloween display!
Return to Newsletter Home... |

