|
Sarahs Painted Yard Tutorial
By Sarah Topps
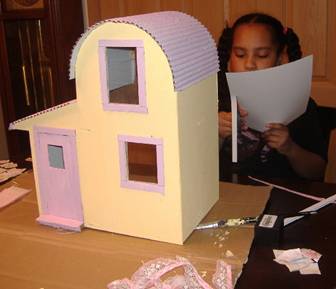
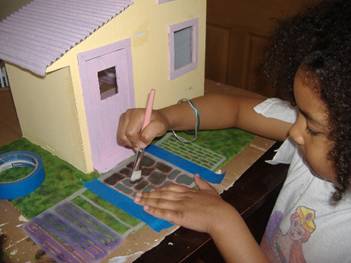
First, you take some cardboard and set the house on the center part of
it. You can see Rachel in the background while Sarah is trying to see
how much yard is needed.
After that has been decided, cut the card board down to the size you
want and then trace the footprint of the house. Next, paint the entire
yard on the outside of the footprint (You would adhere the base after
it is all dry.
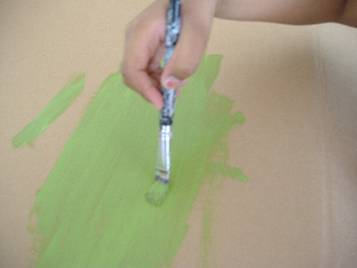
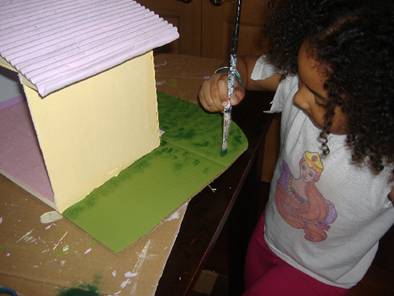
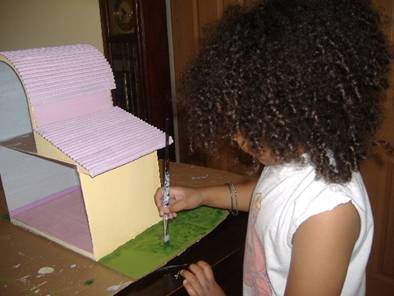
You would paint the entire base a light green (Sarah's paint is apple
barrel "Leaf Green" Color). After that dries, you will pour a dime
size amount of hunter green color paint. Dip your brush in it and then
wipe off access paint till the brush is almost dry. Then you will
pounce this (alternating in different directions so that there won't
be a pattern)
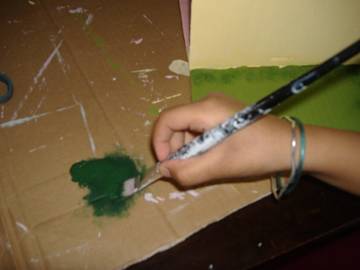
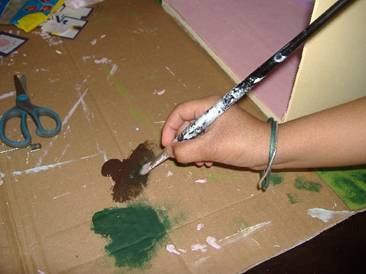
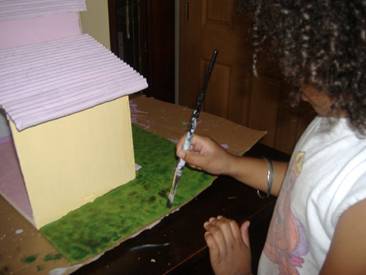
Next, take your brown paint and squeeze out a dime size amount. Dip
your brush in it and then brush off access paint till the brush is
almost dry. Then you will pounce this (alternating in different
directions again so that there won't be a pattern). You may not wish
to have much of the brown as you do the greens.
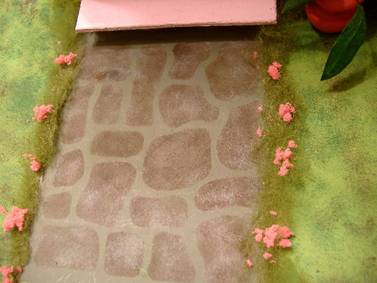
Next, Sarah decided she wanted a "stone" walkway. So she took out the
stone pattern stencil. First, you have to paint the area Gray. After
it dries, then you lay the stencil on top. Then you would take your
dark brown paint and dry brush the outer edges of each stone and dab a
little in the middle. Then after that dries, you will take a lighter
gray, and again, dry brush each stone. Sarah did this color only two
times randomly in each stone. When that dries, then you can remove the
stencil and viola, you have a walkway.
Next, with the help of big sister Rachel, make a straight glue line
with hot glue and then add some green poly fiber on each side. When
this dried, Rachel cut the loose fiber and then Sarah took the tacky
glue and put a drop on top of the fiber. She then took Hot Pink
colored foam and put that on the tacky glue and now the yard has
flowers to help dress up the entry way.
Next, glue the house to the base and add the Green Poly Fiber around
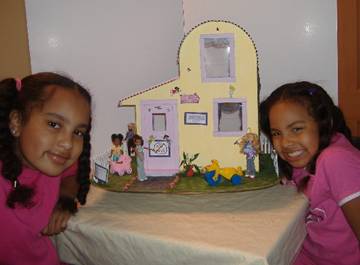
the house. You can even add a fence to enclose the yard like Sarah did.
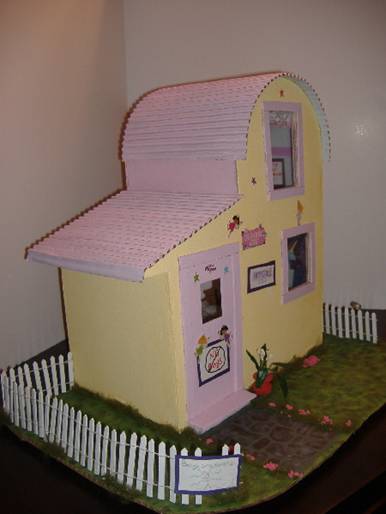
This is a great project for kids or even grown ups. You can use some
of the steps to jazz up any yard scene. It can be a dollhouse or a
vignette. The thing is, try something new and remember to have fun.
That's what this hobby is all about!!
Return to Newsletter Home...
|