|
Patterned Shingle Roof
By Diana M
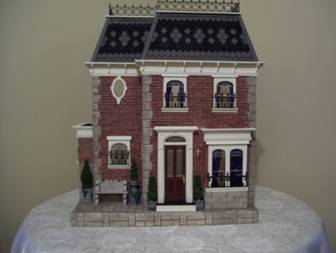
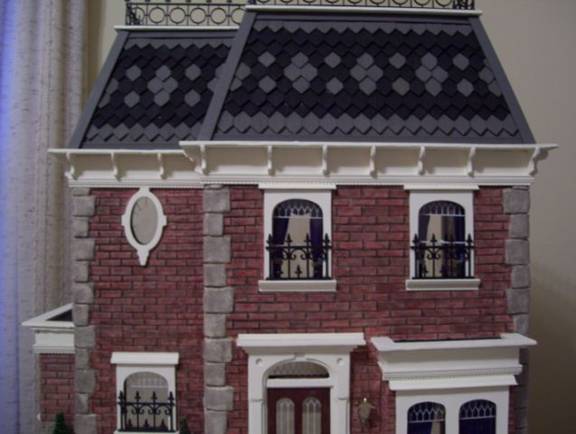
I tried to mimic the pattern shown on the dollhouse kit box, but mine was modified a little.
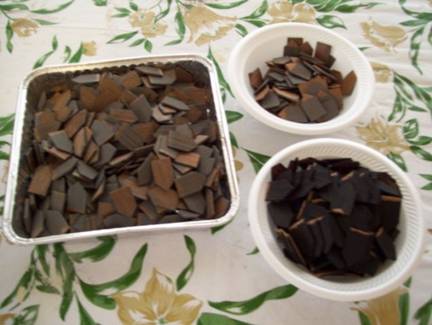
I should start with the supplies I used. I purchased the Diamond Shaped Cedar Shingles. I used hot glue (this is the only place recommended for hot glue). I glued the shingles right on the roof, I did not use a template of the roof sections in heavy card stock. I painted my shingles black and medium gray. I tried to do the wash, but it wouldn't take on the cedar shingles. There are approximately 370 gray and 330 black shingles on my Rosedale. I believe this pattern works best on the mansard roof.
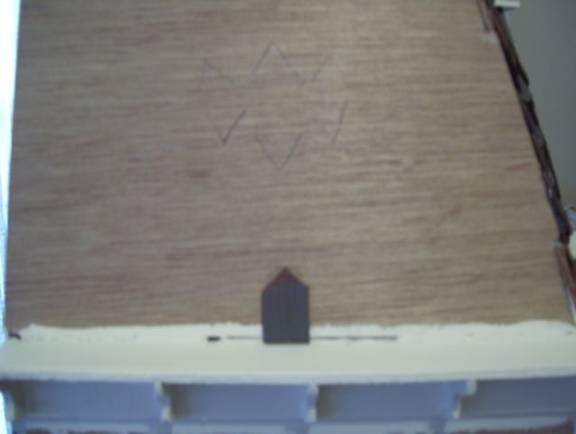
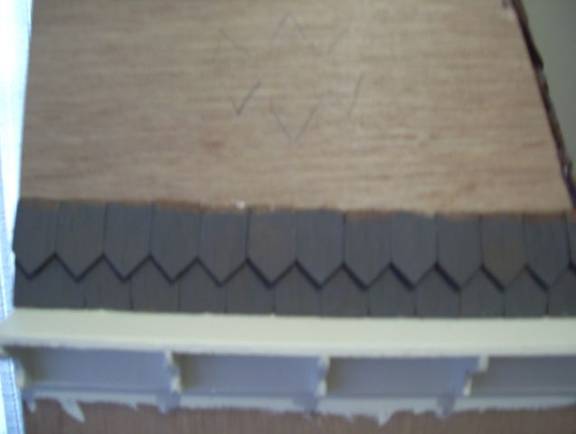
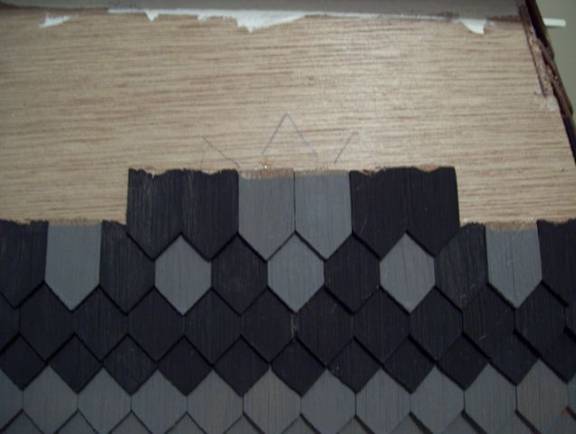
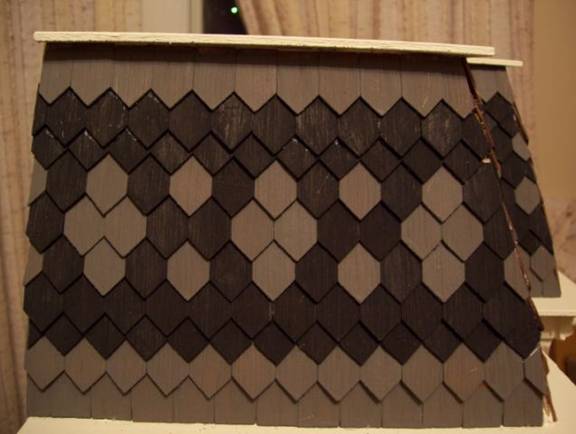
The first step is to determine the center of your roof section. Place your first shingle (in gray) in the center. Then work your way out from each side. For the first row of shingles, I always use the flat ends.
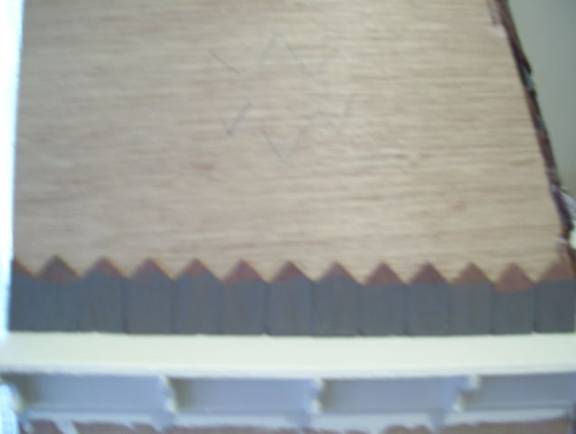
The next row (2nd) is done in gray followed by a black row (3rd). The fourth row is also done in black, but bring the tip of your diamond shaped shingle to the center of the second row creating a small diamond shape. (Row 3 will have small diamond shapes)
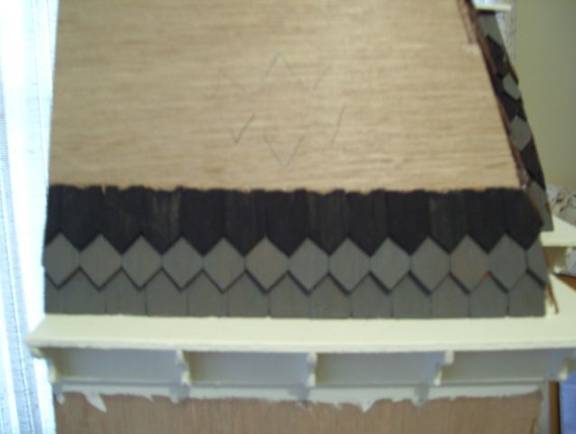
The next step (5th row) you begin your flower pattern. Locate the center and add your first gray shingle. Then on each side of the gray you will add black shingles. This row will have a rotation of gray and black shingles.
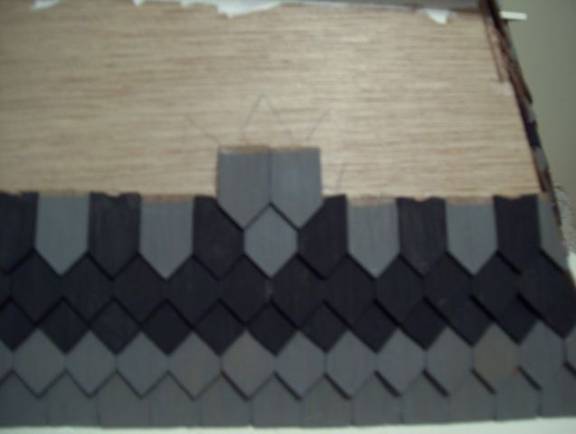
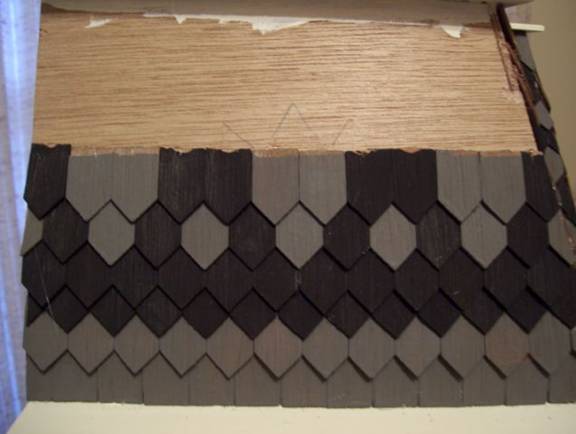
The next step (6th row) above the centered gray shingle you want to add 2 gray shingles. Then from each side of the gray add black shingles. This row will be a rotation of 2 gray and 2 black.
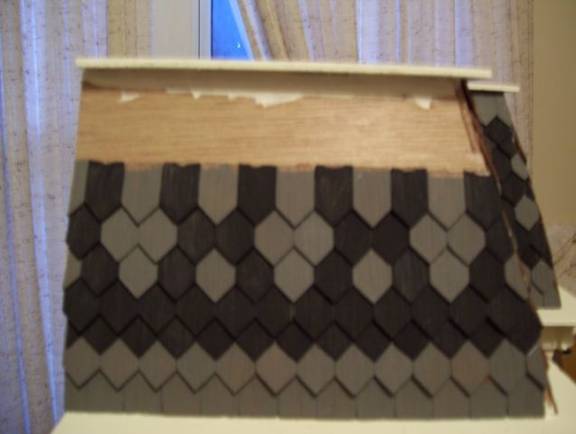
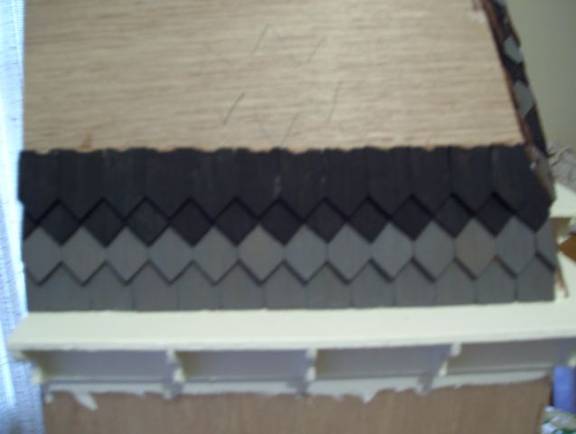
The next step (row 8) will be done in black. Row 9 in black but bring the tip of the diamond of the shingle down to create a small diamond shape in row 8.
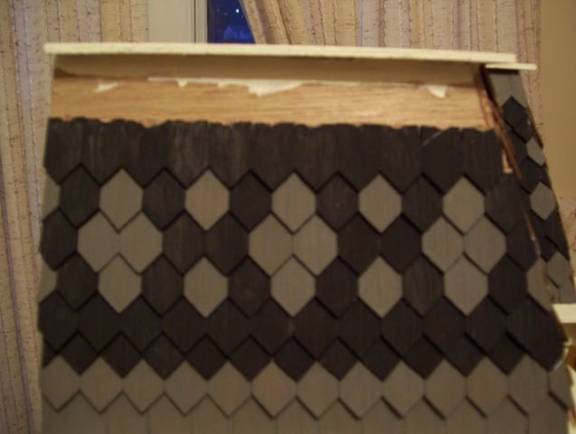
The last row is done in gray. Do paint touch ups as needed and add your trim.
That is it! I hope this was helpful and have fun creating your patterned roof!
(Editor’s Note: Be sure to visit Diana’s Rosedale gallery to see more pictures, both inside and outside, of this spectacular house.)
Return to Newsletter Home...
|