|
Anna's Pumpkin Teapot Tutorial
By Anna Magnusson

Supplies needed:
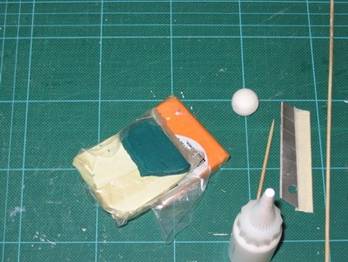
I use my cutting board as a base and then a sheet of oven safe paper, orange and dark green fimo, a bamboo skewer, a toothpick, a single razor blade, and a suitable paperwad ball instead of a styrofoam one, and a tweezer (here I use my self locking forceps but any tweezer with a pointy tip will do). For the baking procedure I use an oven safe plate and a crumbled up piece of tinfoil to support the teapot spout. I use fimo for this but any polyclay works great.
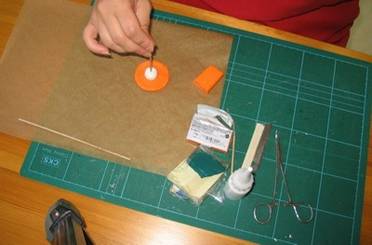
I most often start with placing the clay someplace “warm”, the pocket works great or even the bra… ;) and then I proceed to prepare the work surface. The clay needs warming and to be kneaded to get to a pliable state. If it is tough on your hands try using an old pasta roller dedicated for fimo purpose instead. When the clay feels warm and soft enough roll it up to a ball, it needs to be approximately the same size as the paperwad ball, slightly bigger. Flatten it out so that it is about 1 ½ inch in diameter.
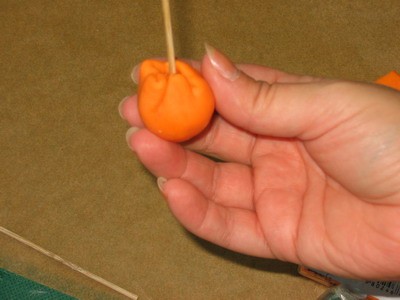
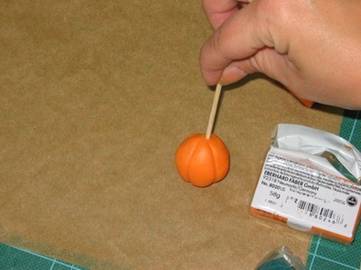
Break the skewer in two and place it in the hole in the paperwad ball so that is looks like an inverted lolly stick and put that on top of your orange fimo circle and tease the circle close. If you feel you have a lot of clay at the top portion around the skewer area you can easily cut that off, you only need to enclose the paperwad ball here.
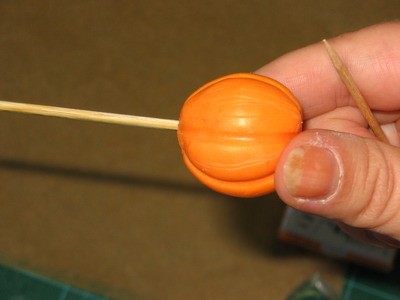
When you are happy with your partitions of the pumpkin it is time to texturize it. That is what I use the tooth pick (or my nails) for, just lightly draw with it on the surface bottom towards top a few times within each partition and then gently go over the same area again with your finger tip to smoothen them out so that they are just a hint of skin texture.
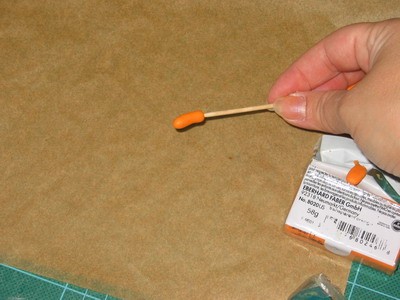
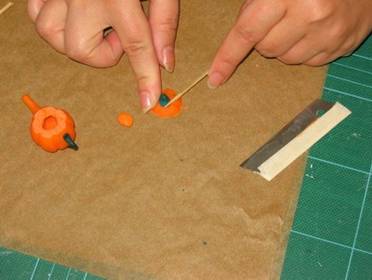
It is now time to make the spout bit. I take a small amount of clay and roll it out in sort of a comma shape. Use the toothpick tip to get the pouring hole visible by sticking it into the narrower part of the comma. Cut the thicker part with the razor blade to get it nice and flat and just gently push it onto the pumpkin body. One can use the toothpick to roll the seam between the two objects but most often it only needs a gentle pushing together.
It is now time to make the handle, I use the dark green fimo, roll it into a farily thin snake, about the slightly less than the tooth pick, flatten the end parts a bit and attach it to the other side compared with the spout. If it is hard to get the handle to protrude as one wants it, attach the upper part first and use the tip of a nail in between the handle and the pumpkin pot and push the other end onto the clay. One can also adorn the attaching points a little with the tip of the toothpick.
Time to bake! I baked my pot for 15 minutes, in the recommended temp according to the brand.
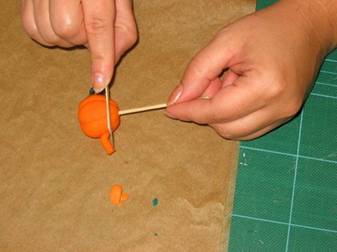
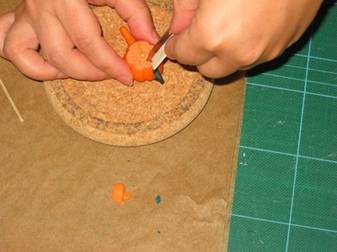
While the teapot is still warm I cut away the lid part, be careful to cut away from yourself and be sure you hold the teapot steady but gentle… Make the cut so that the blade just touches the skewer, turn the teapot around a ¼ of a turn and repeat until you have worked yourself all around the now “loose” lid part. Coax the lid part of the pot body together with the skewer, remove the skewer and we will now make the stalk part and also the part that will serve as the lid guide.
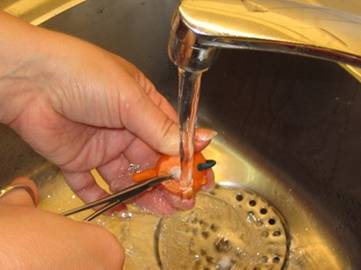
You might need to carve a little hole into the pot with the blade so that you now can see the paperwad ball in there. Bring your teapot and tweezers along with you to the sink and put it under the tap with the water running, allow the paperwad ball to get soaked and then start picking out the wad, if you are lucky you can sort of twist the tweezers around some wadding and pull out loooooong pieces. With some fiddling you will soon have a hollowed out teapot body!
Roll a small snake, again approximately the thickness of a toothpick, cut of a small part about 3 mm (1/8 of an inch) and prop that on top of the lid into the hole left from the skewer. Use the toothpick and roll it into the lid cracks all around the stalk by using the tip of the toothpick.
Roll a thicker orange fimo snake, not thicker in diameter compared with the hole in the teapot, cut it and attach it using the roll along the seam as with the stalk. It is a good thing to firmly press the orange piece together with the lid so that the two pieces of new uncured clay meet in the hole left from the skewer.

Bake the teapot lid approximately 10 minutes or so
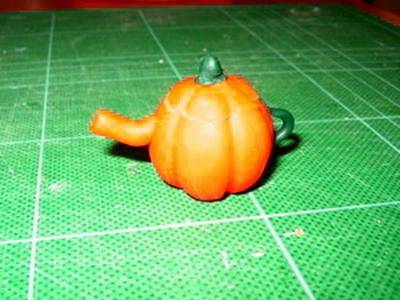
When it is ready and cool, you can sit back and put the lid on your teapot. Be sure to piece the top and bottom parts together, and hey presto, a pumpkin teapot!!!
Back to the September Newsletter... |