|
Café Shutters
By Otterine

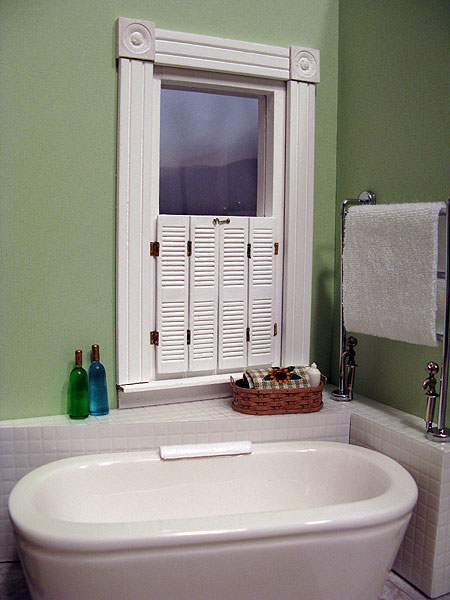
Here is how I made café shutters for the bottom halves of my bathroom windows.
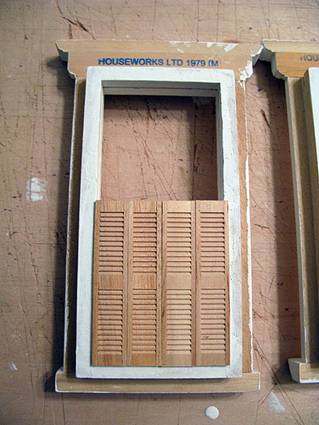
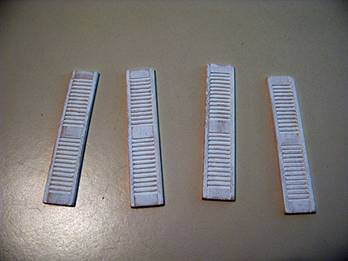
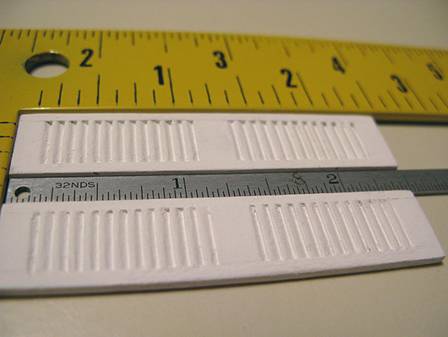
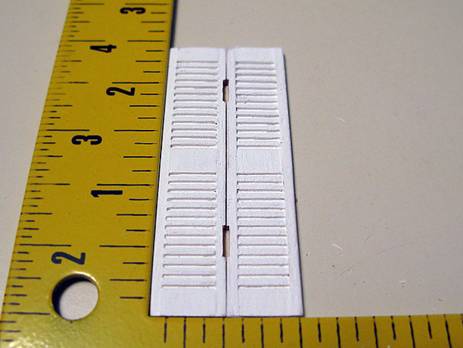
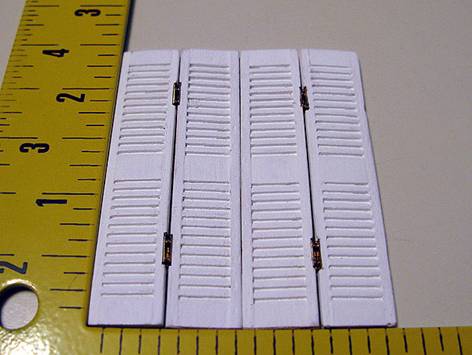
I started with half scale window shutters from Houseworks. Each one measures approximately 1/2" x 2 1/2". Four of them lined up side by side are just about the right fit for the standard windows of the Newport. If you wanted the look of café shutters without the work of putting the hinges on them, you could paint them, glue them together along the edges and glue them as a single piece to the window frame.
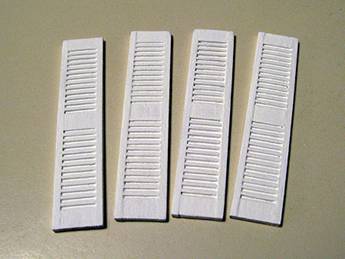
I painted the shutters white, including the plain (non-louvered) backs. Once dry, I sanded them before putting on a second coat.
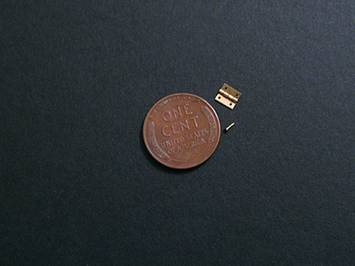
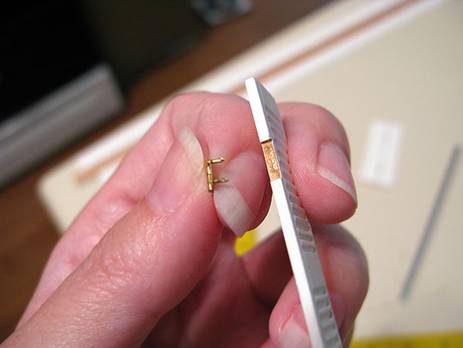
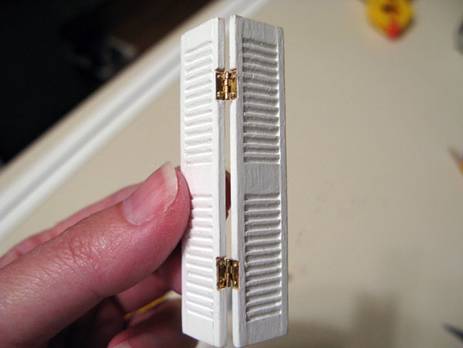
In order to make the shutters functional, I used eight very tiny hinges per window; they each measure 3/16" square when open (miniatures.com #4242). They have incredibly tiny nails as well. I recommend working in an area where you won't easily misplace them (spoken from experience). Cats get very curious about you when you are scrounging on the floor on all fours but they are not much help. I did find the wayward nail, by the way...all four times!
Lining up two shutters with the louvers going the same direction, I marked the hinge placement 1/2" from each end.
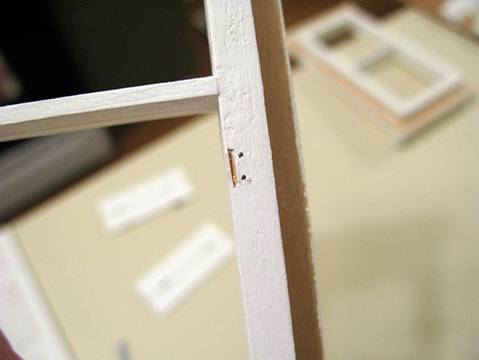
I used a tiny hand drill to make shallow pilot holes.
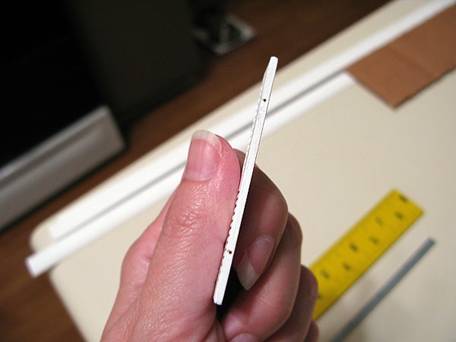
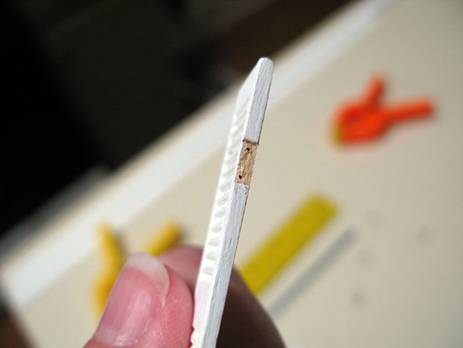
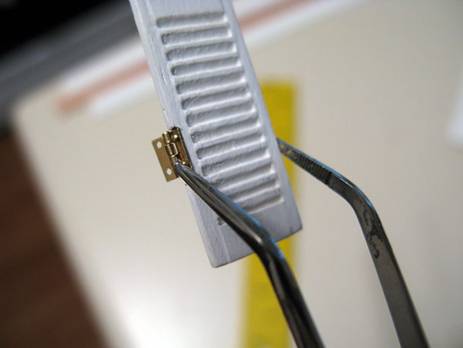
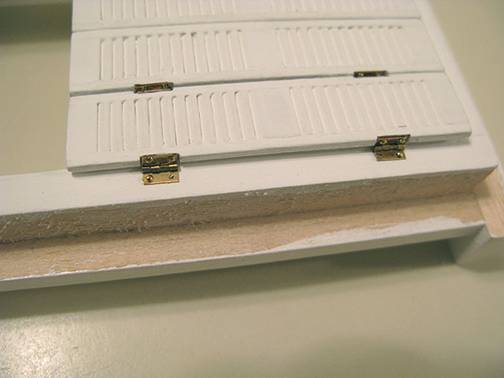
I cut out an indentation in the sides to allow for a recessed fit for each hinge, otherwise there would be gaps between the shutters and they would no longer fit the window width correctly.
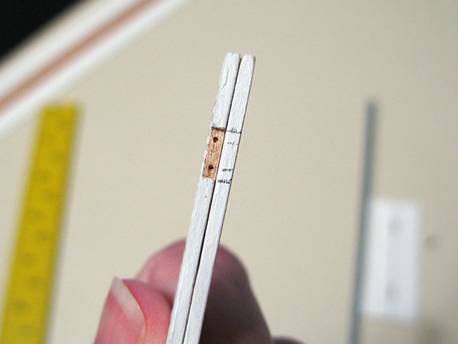
Holding the two shutters side by side and aligned top to bottom (plain backs together, with louvers on the fronts going the same direction), I copied the indentations and nail placement onto the second shutter.
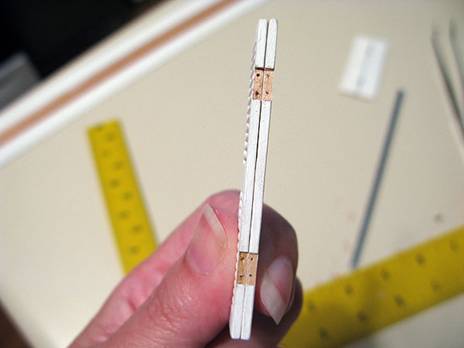
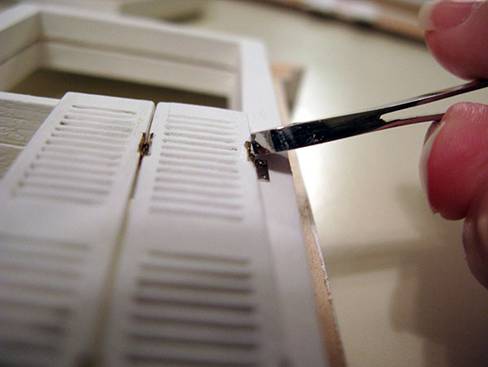
After putting a tiny dab of clear gel glue on each nail and inside the indentation, I pressed the nails into place using tweezers. Be careful not to mar the opposite side by squeezing too hard or at the wrong angle (also spoken from experience). But, that's what spackle is for!
Attaching the hinges takes time and a lot of patience. I attached the first set of two shutters in one long sitting and then came back to the project the following night. Remarkably, it took considerably less time and effort for the second set. When doing the second set, make sure the louvers are going in the same direction as your first set.
After the hinges were in place on both sets, I touched up any imperfections in the finish. I finished the bathroom window inside and out. Your window may or may not need to be installed before attaching the shutters, depending on your structure. In my case, I was able to work on the window while separate from the house.
Next, the two outer hinges were attached using the same process as the inner hinges: pilot holes were drilled, notches were cut out, small dabs of glue were put on the nails and the nails were pressed in place.

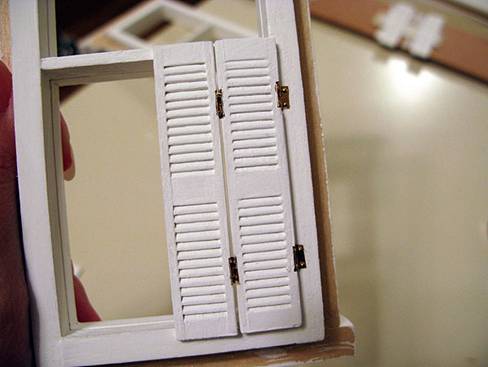
I placed the hinged shutter assembly on the window with the non-hinged side lined up with the center of the window and the top edges of the shutters flush with the board across the middle of the window. If your window doesn't have this feature, you may need to add one for stability.
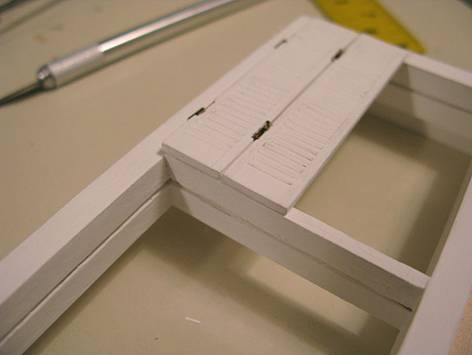
I marked the nail holes for the hinges on the side pane. I drilled pilot holes for the nails and cut out a thin indentation to allow for better movement of the hinge.
After putting a tiny dab of glue on the nail, I attached the hinges to the pane using the end of the tweezers to press the nails in.
The assembly should open smoothly. These assemblies need to be treated gently - the hinges are tiny and can be easily bent.
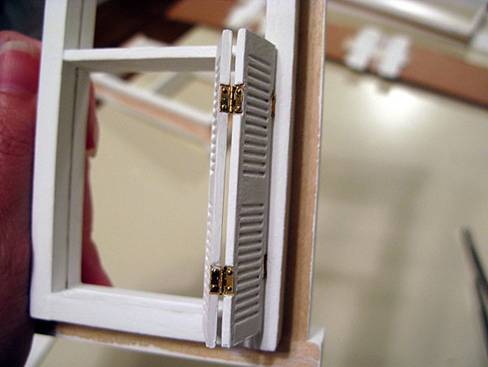
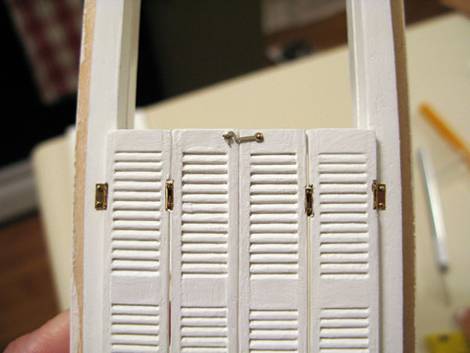
Making sure the louvers of the second set were going the same direction as the first, I attached the outer hinges on the second set. After butting the center edges together, I marked the hinge placement on the pane. To keep the whole assembly from shifting, I pressed in the top and bottom nails first.
For the finishing hardware, I used laser cut brass hooks and eyes from The Ironworks (http://www.ironworks-miniatures.co.uk). Closures can be fashioned from wire as well.
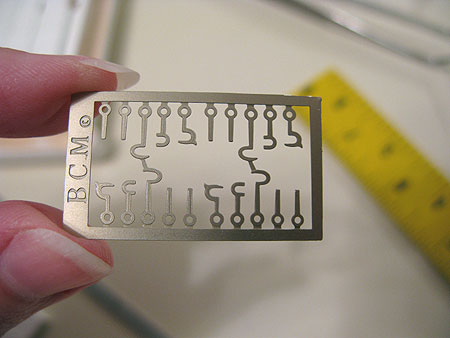
I bought extra hinges and one of them was bent on arrival - instant extra nails! I used one of those extra hinge nails to attach the hook, leaving a bit of slack so it would turn freely. I had to cut the eye pin short since its length was longer than my shutter thickness. I used the tip of an X-Acto blade to make an incision and then glued the eye in place.
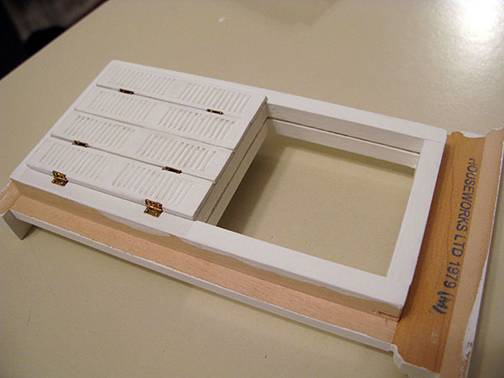
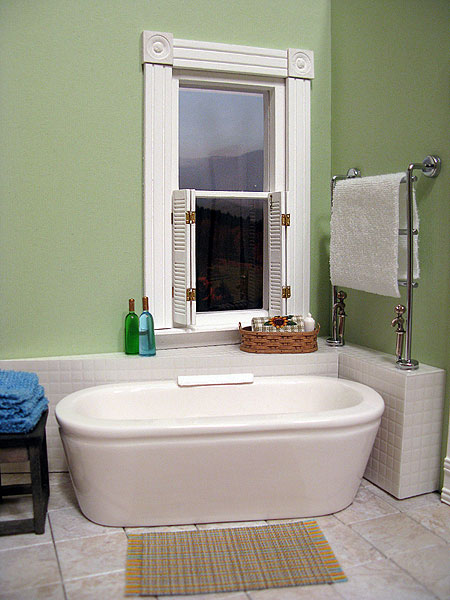
Once the window was installed, I added the interior trim while making sure there would be ample room for the shutters to open and close.
And open...
Repeat from the beginning as necessary for each additional window.
Back to Newsletter Home...
|